Walkthrough
Direct Sync
Direct Sync is the default syncing method, which uses the Chroma Cloud GitHub app. To use your own custom GitHub app, use Platform Sync.- Prerequisites This walkthrough assumes that you have a GitHub account with at least one repository.
-
New database setup
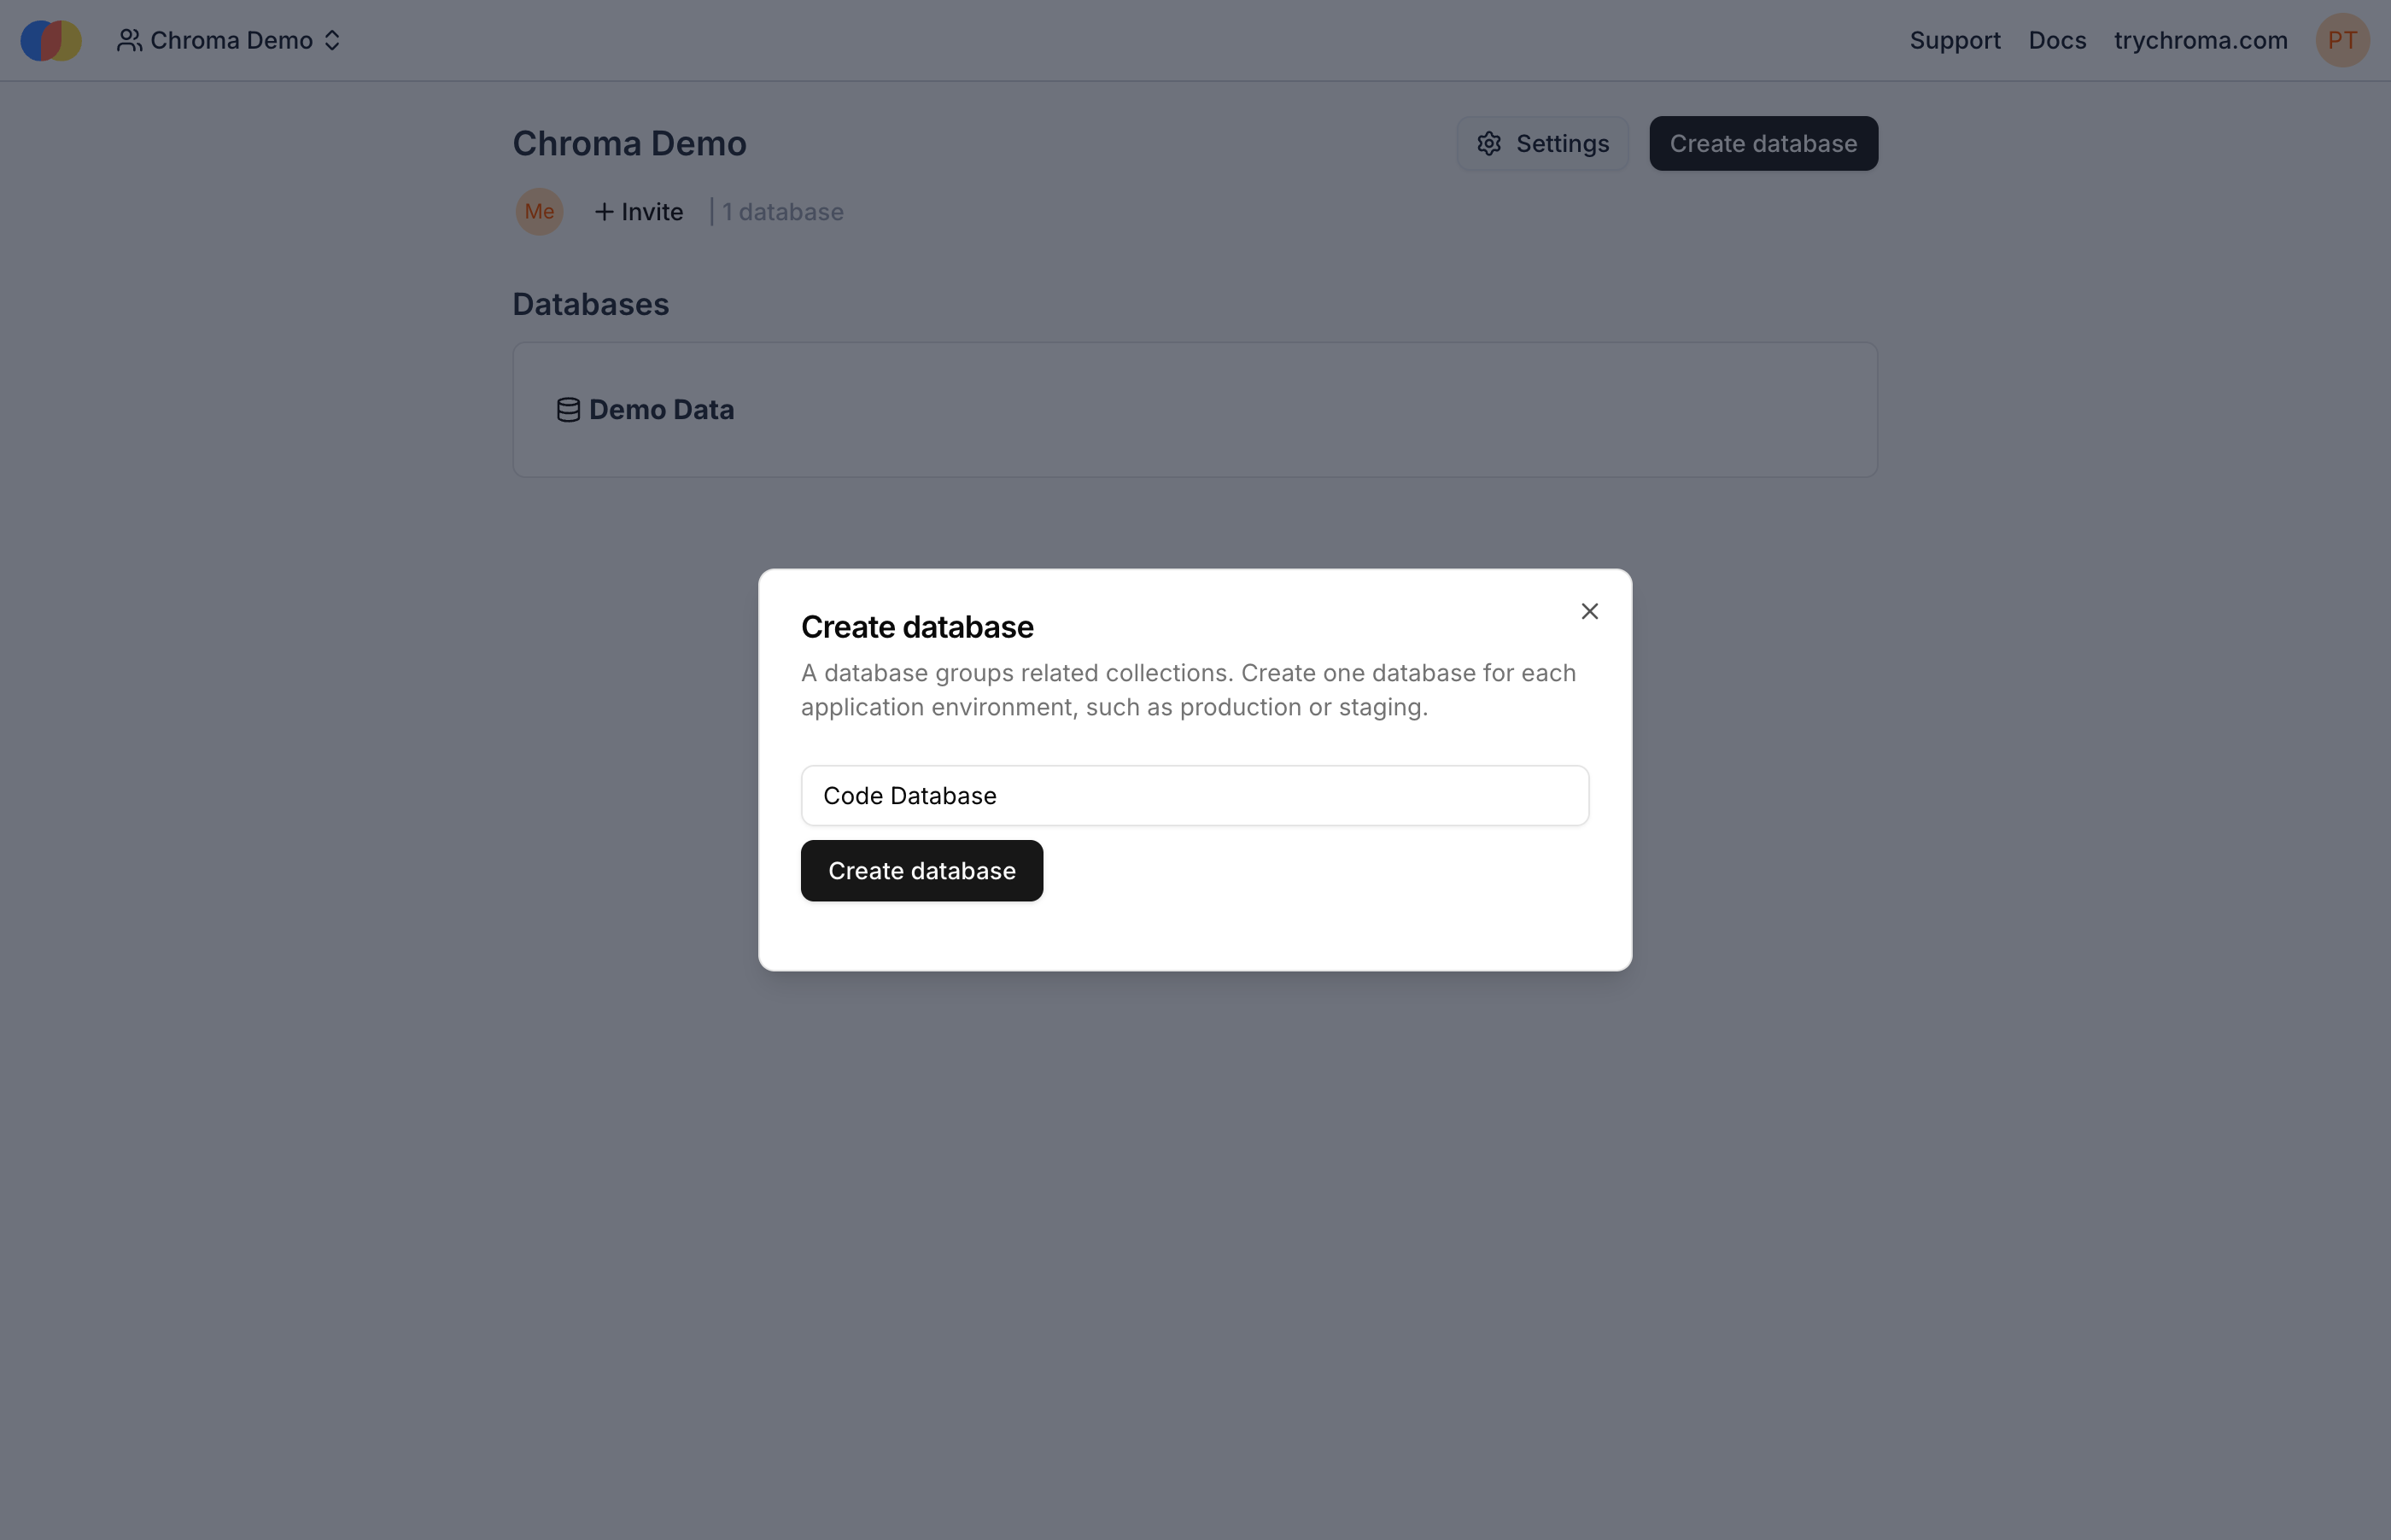
If you do not already have a Chroma Cloud account, you will need to create one at trychroma.com. After creating an account, you can create a database by specifying a name:
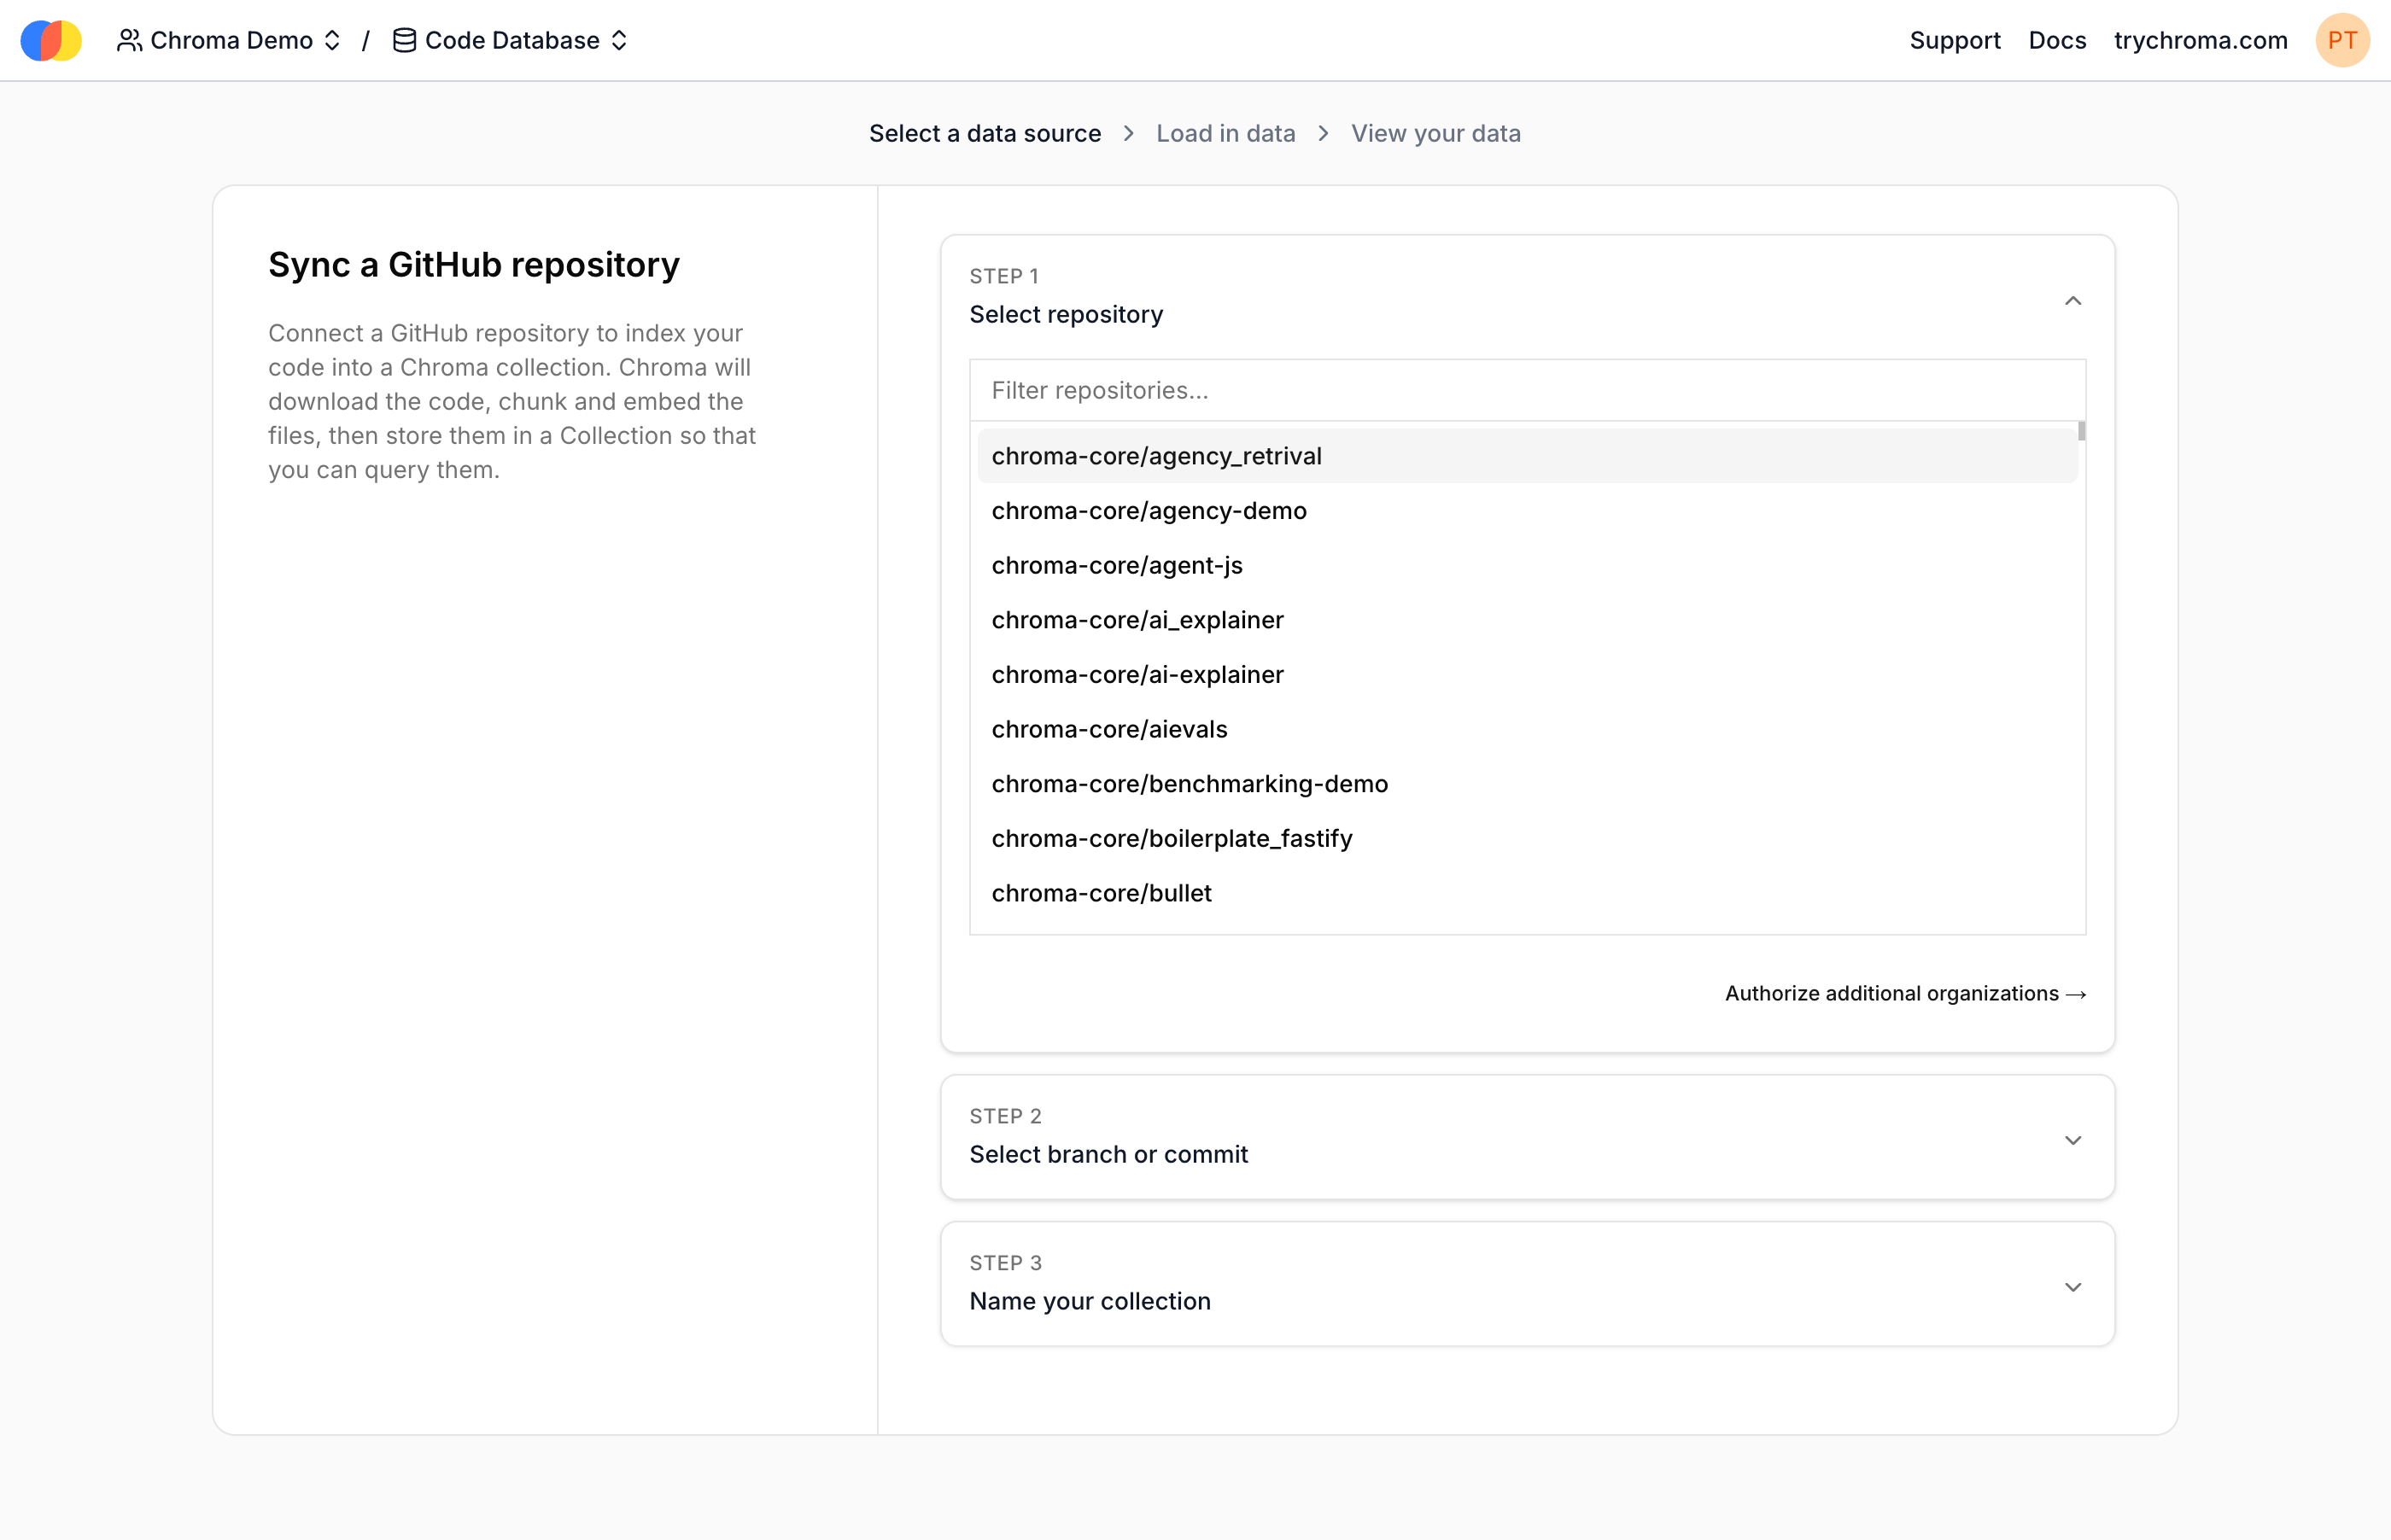
On the setup screen, select “Sync a GitHub repo”:
 Install the Chroma GitHub App into your GitHub account or organization:
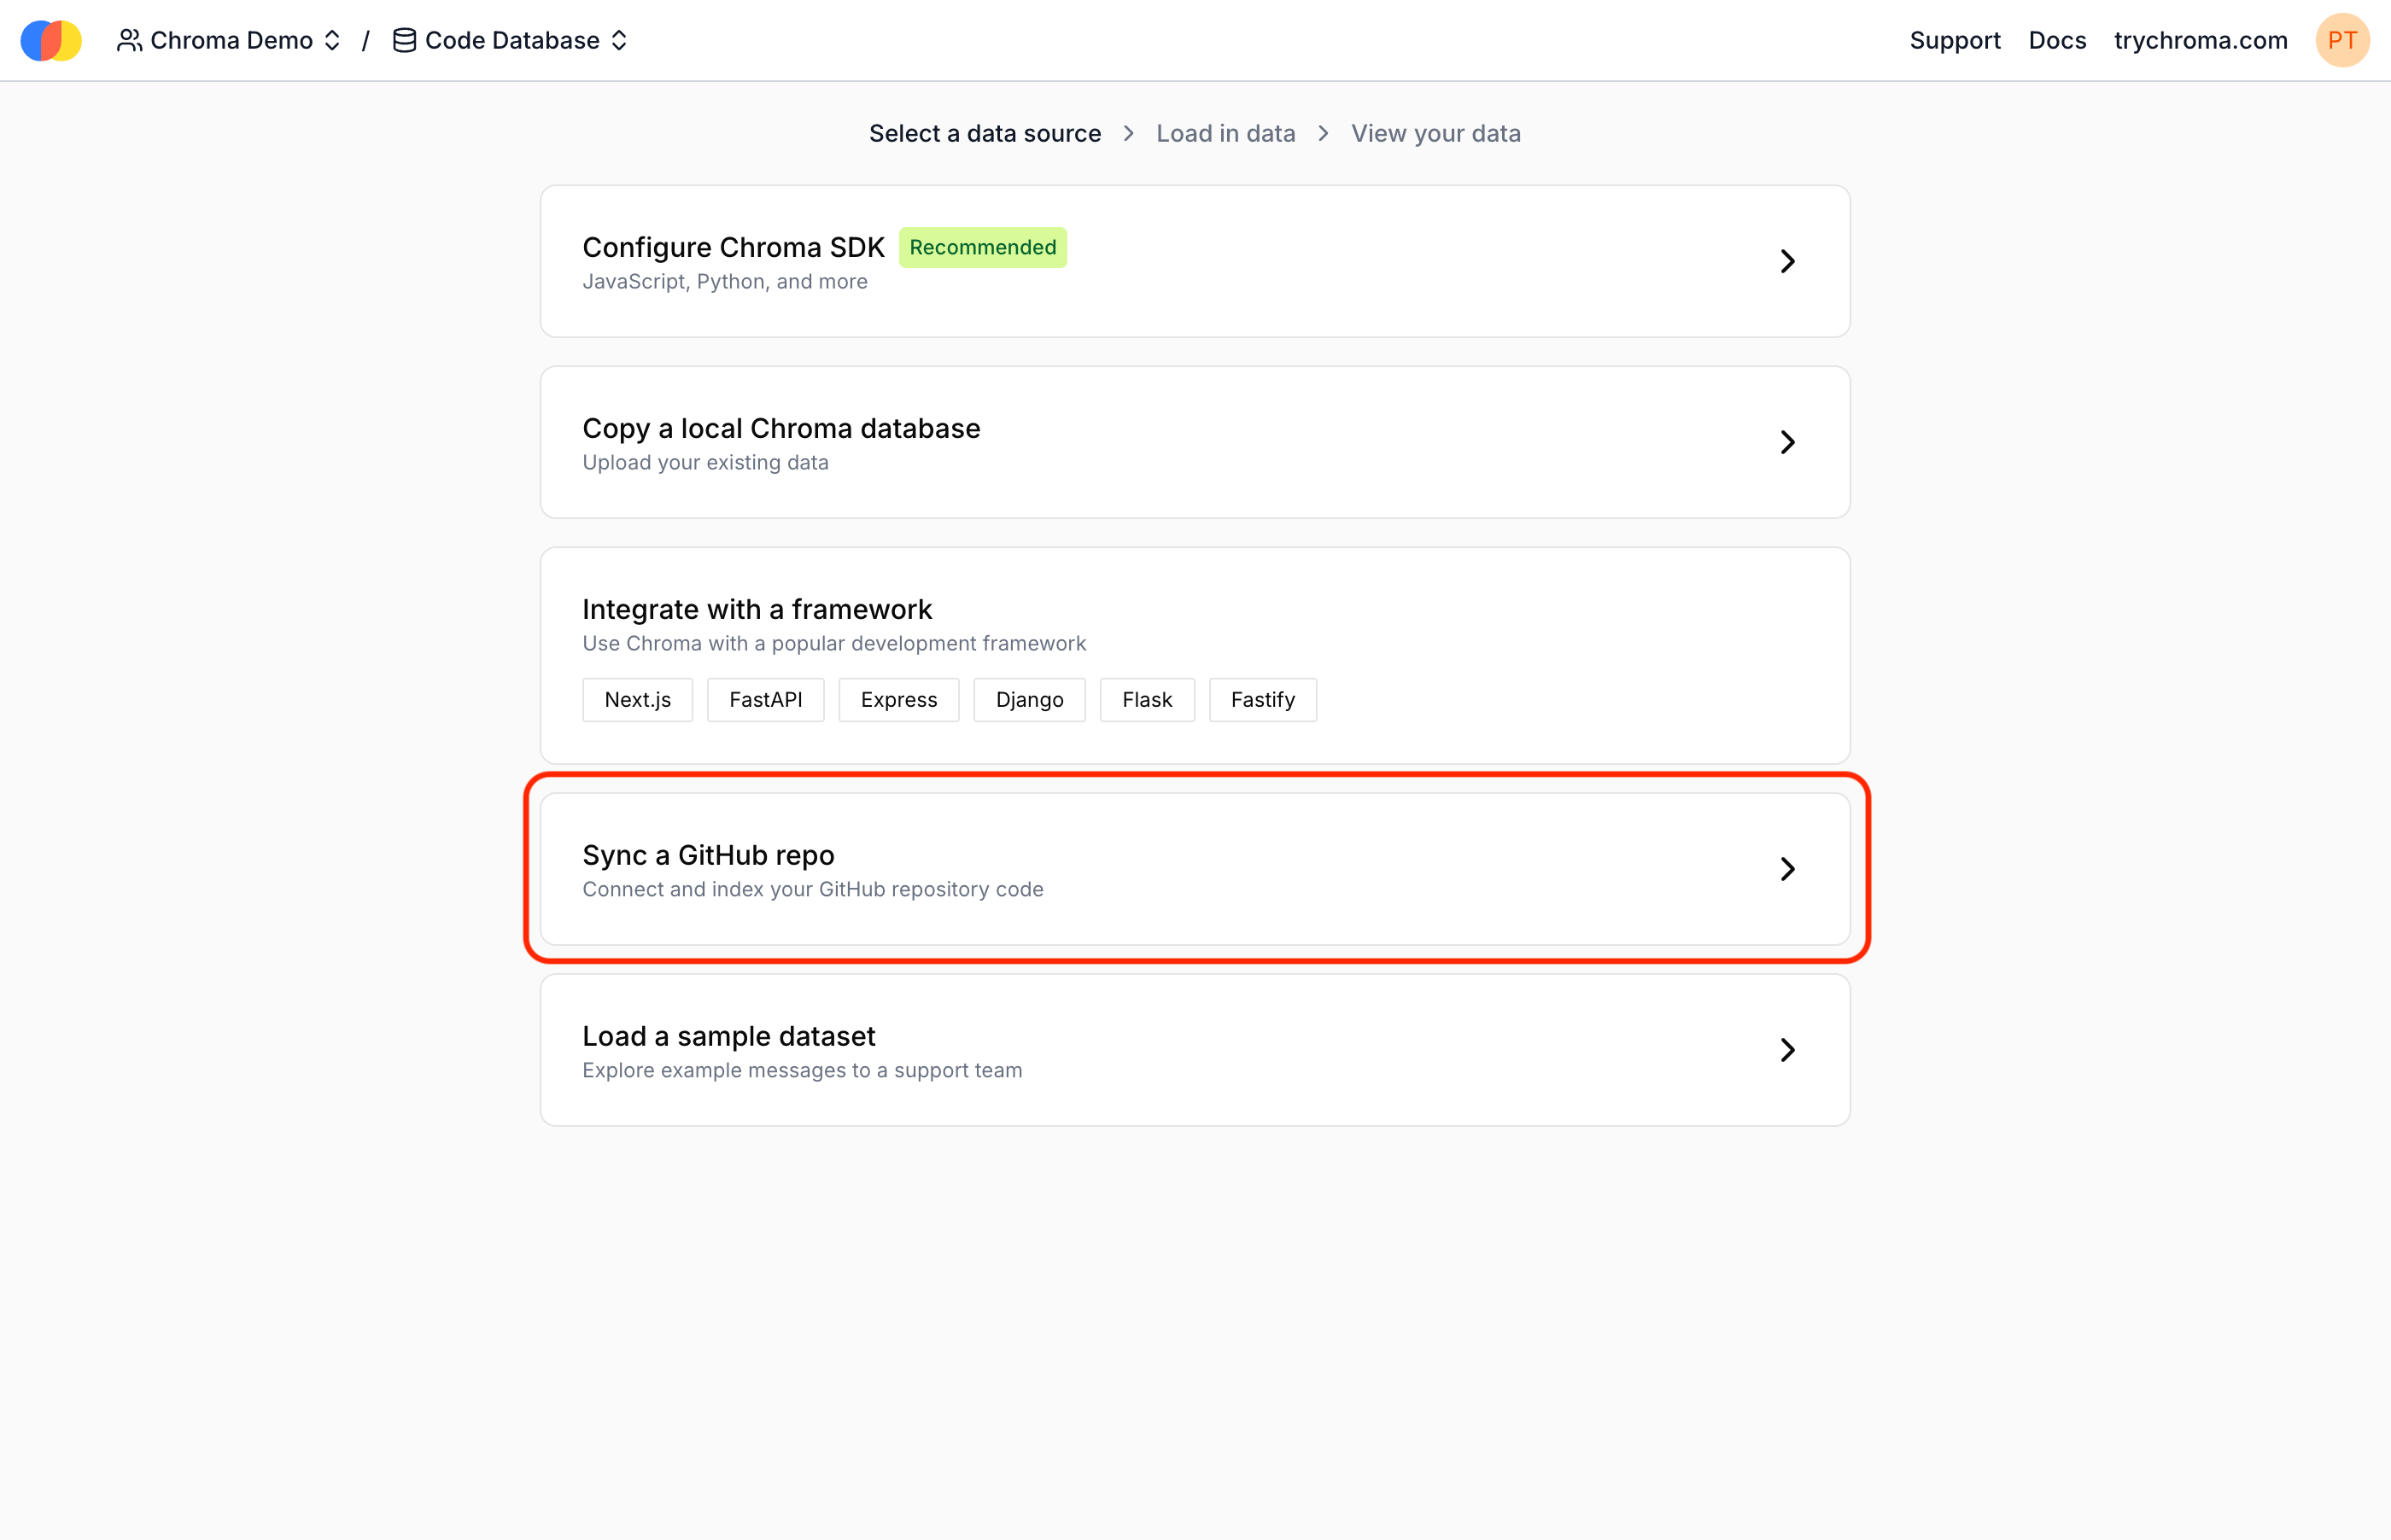 And follow the prompts to initiate sync. Choose the repo to sync code from, the branch or commit hash version of the code to index, and new collection name for the synced code. (The collection will be created by the syncing process, and must not exist yet.)
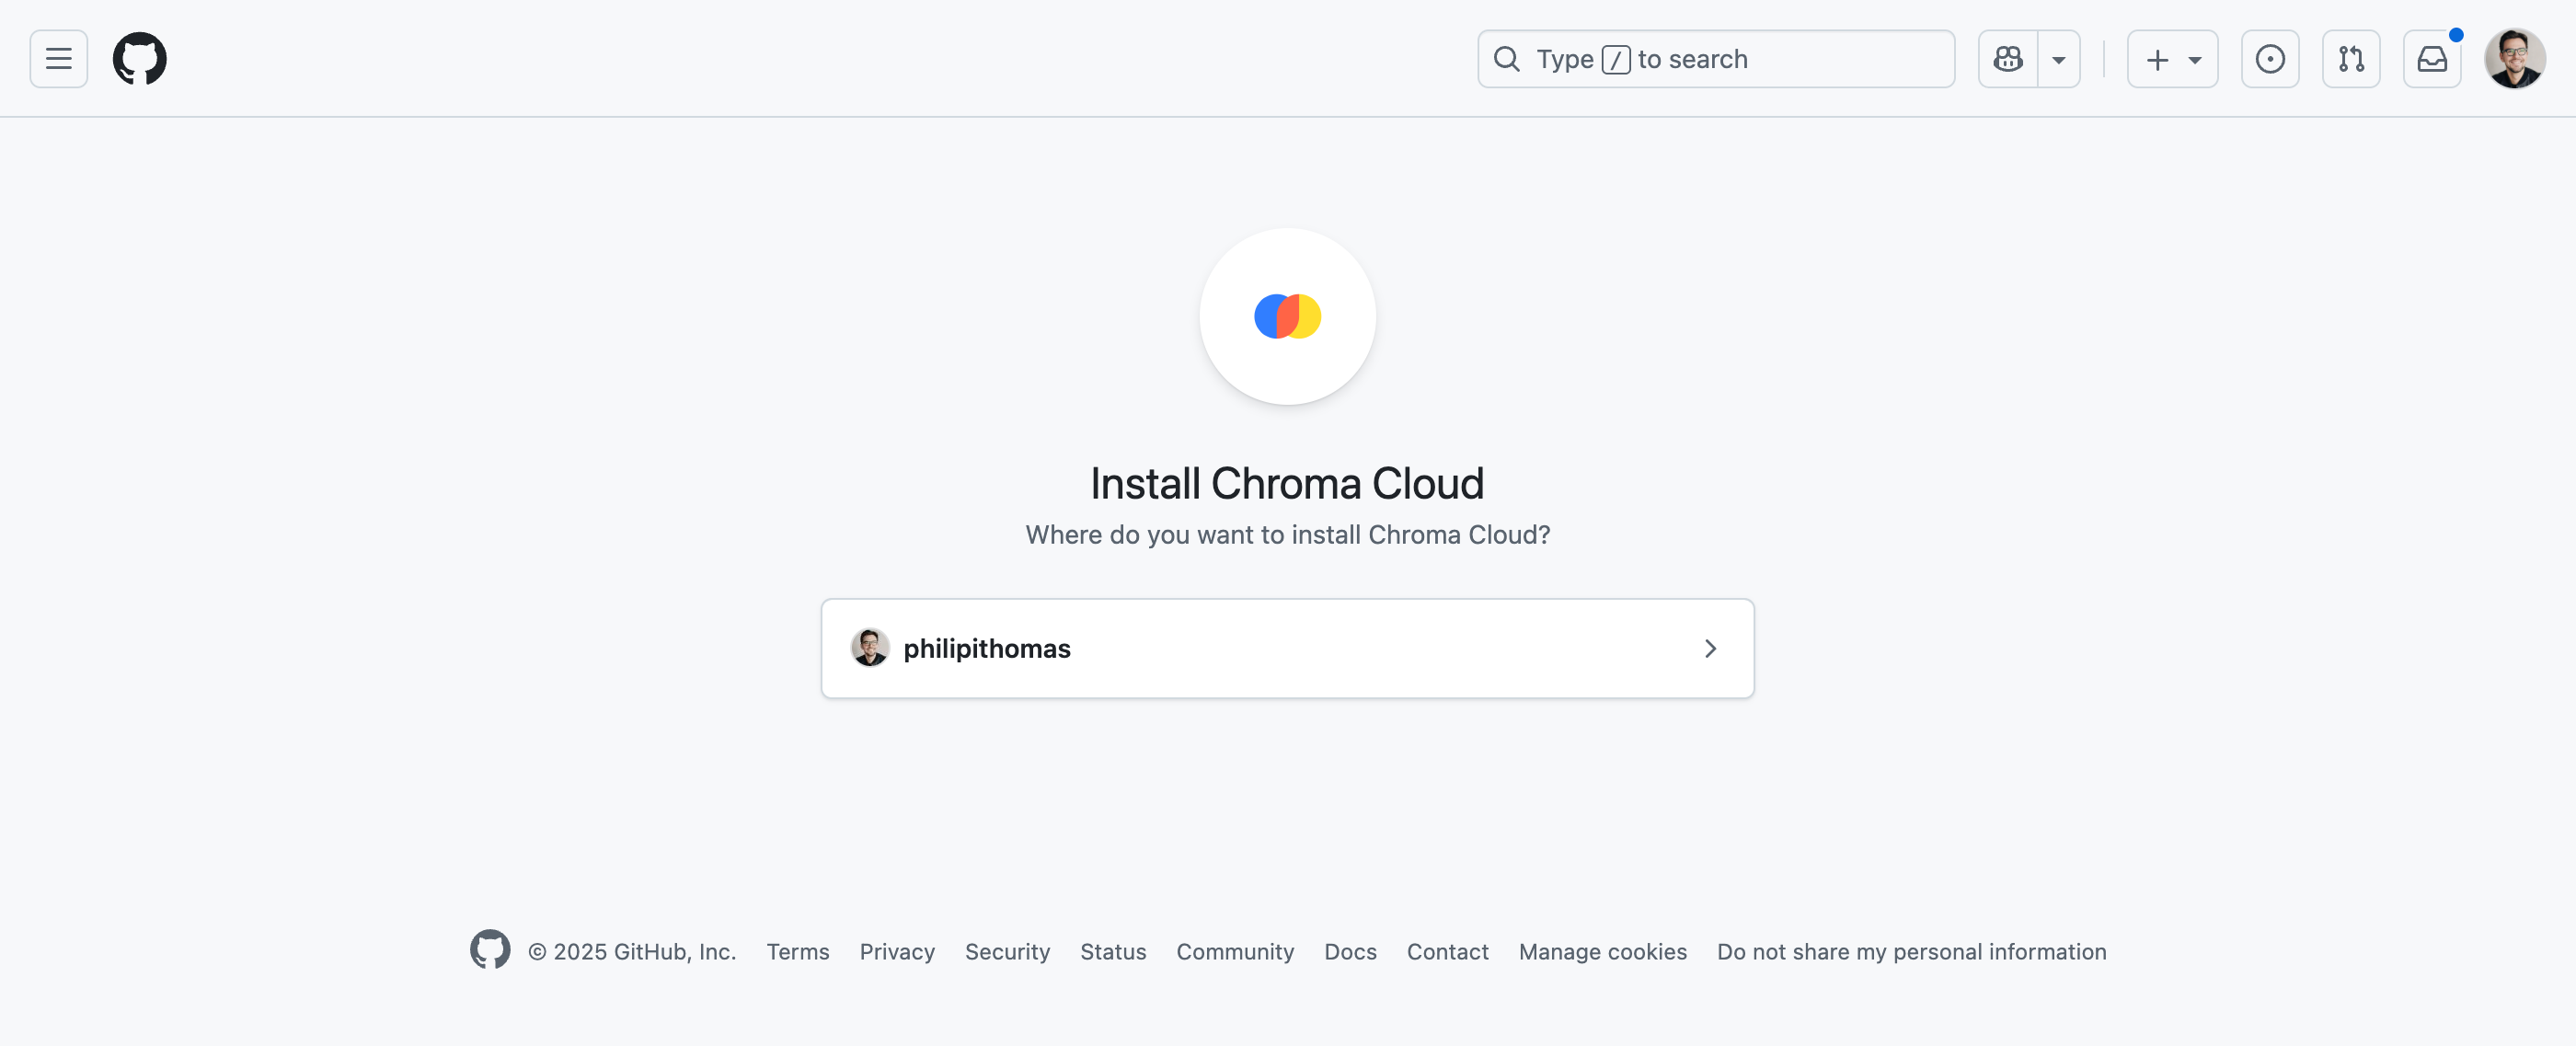
-
Existing database setup
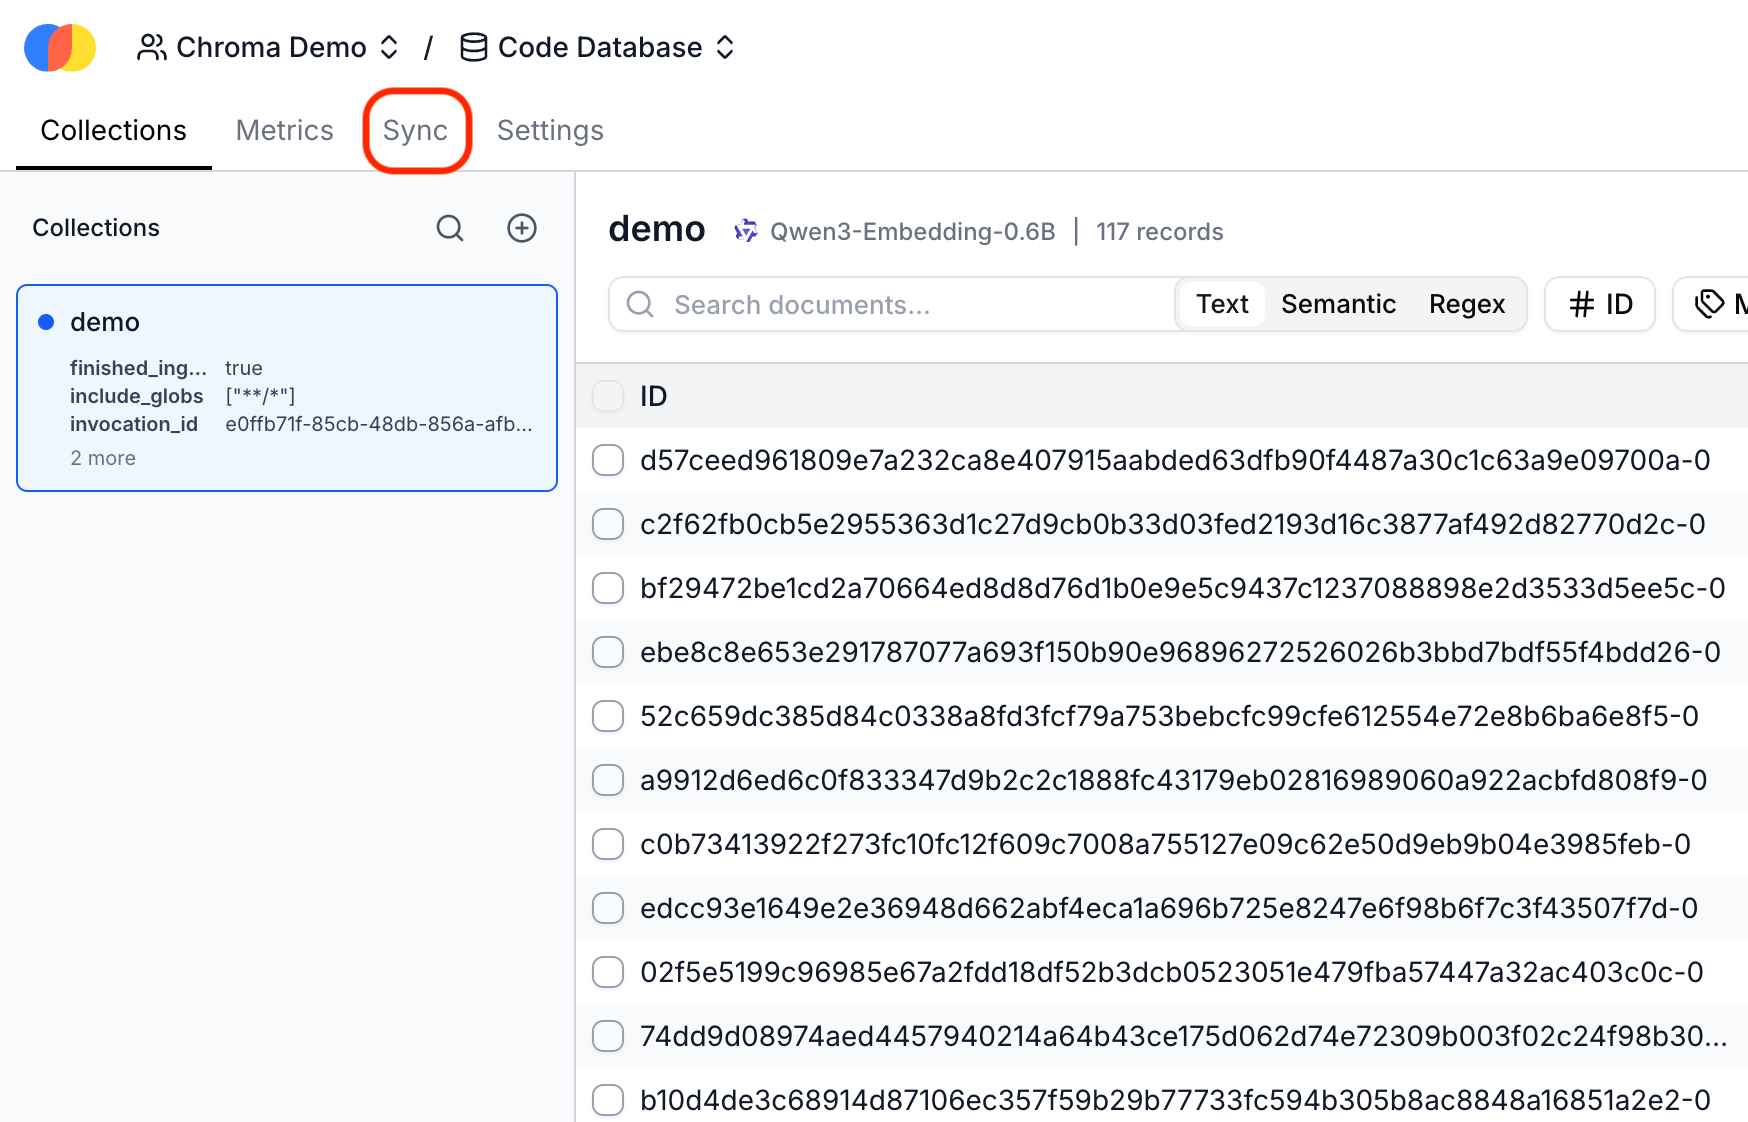
Open an existing database in Chroma Cloud, and select “Sync” from the menu:
On the Sync page, select “Create” to begin syncing code. If you have not already connected GitHub, you may be prompted to install the Chroma Cloud GitHub app again.
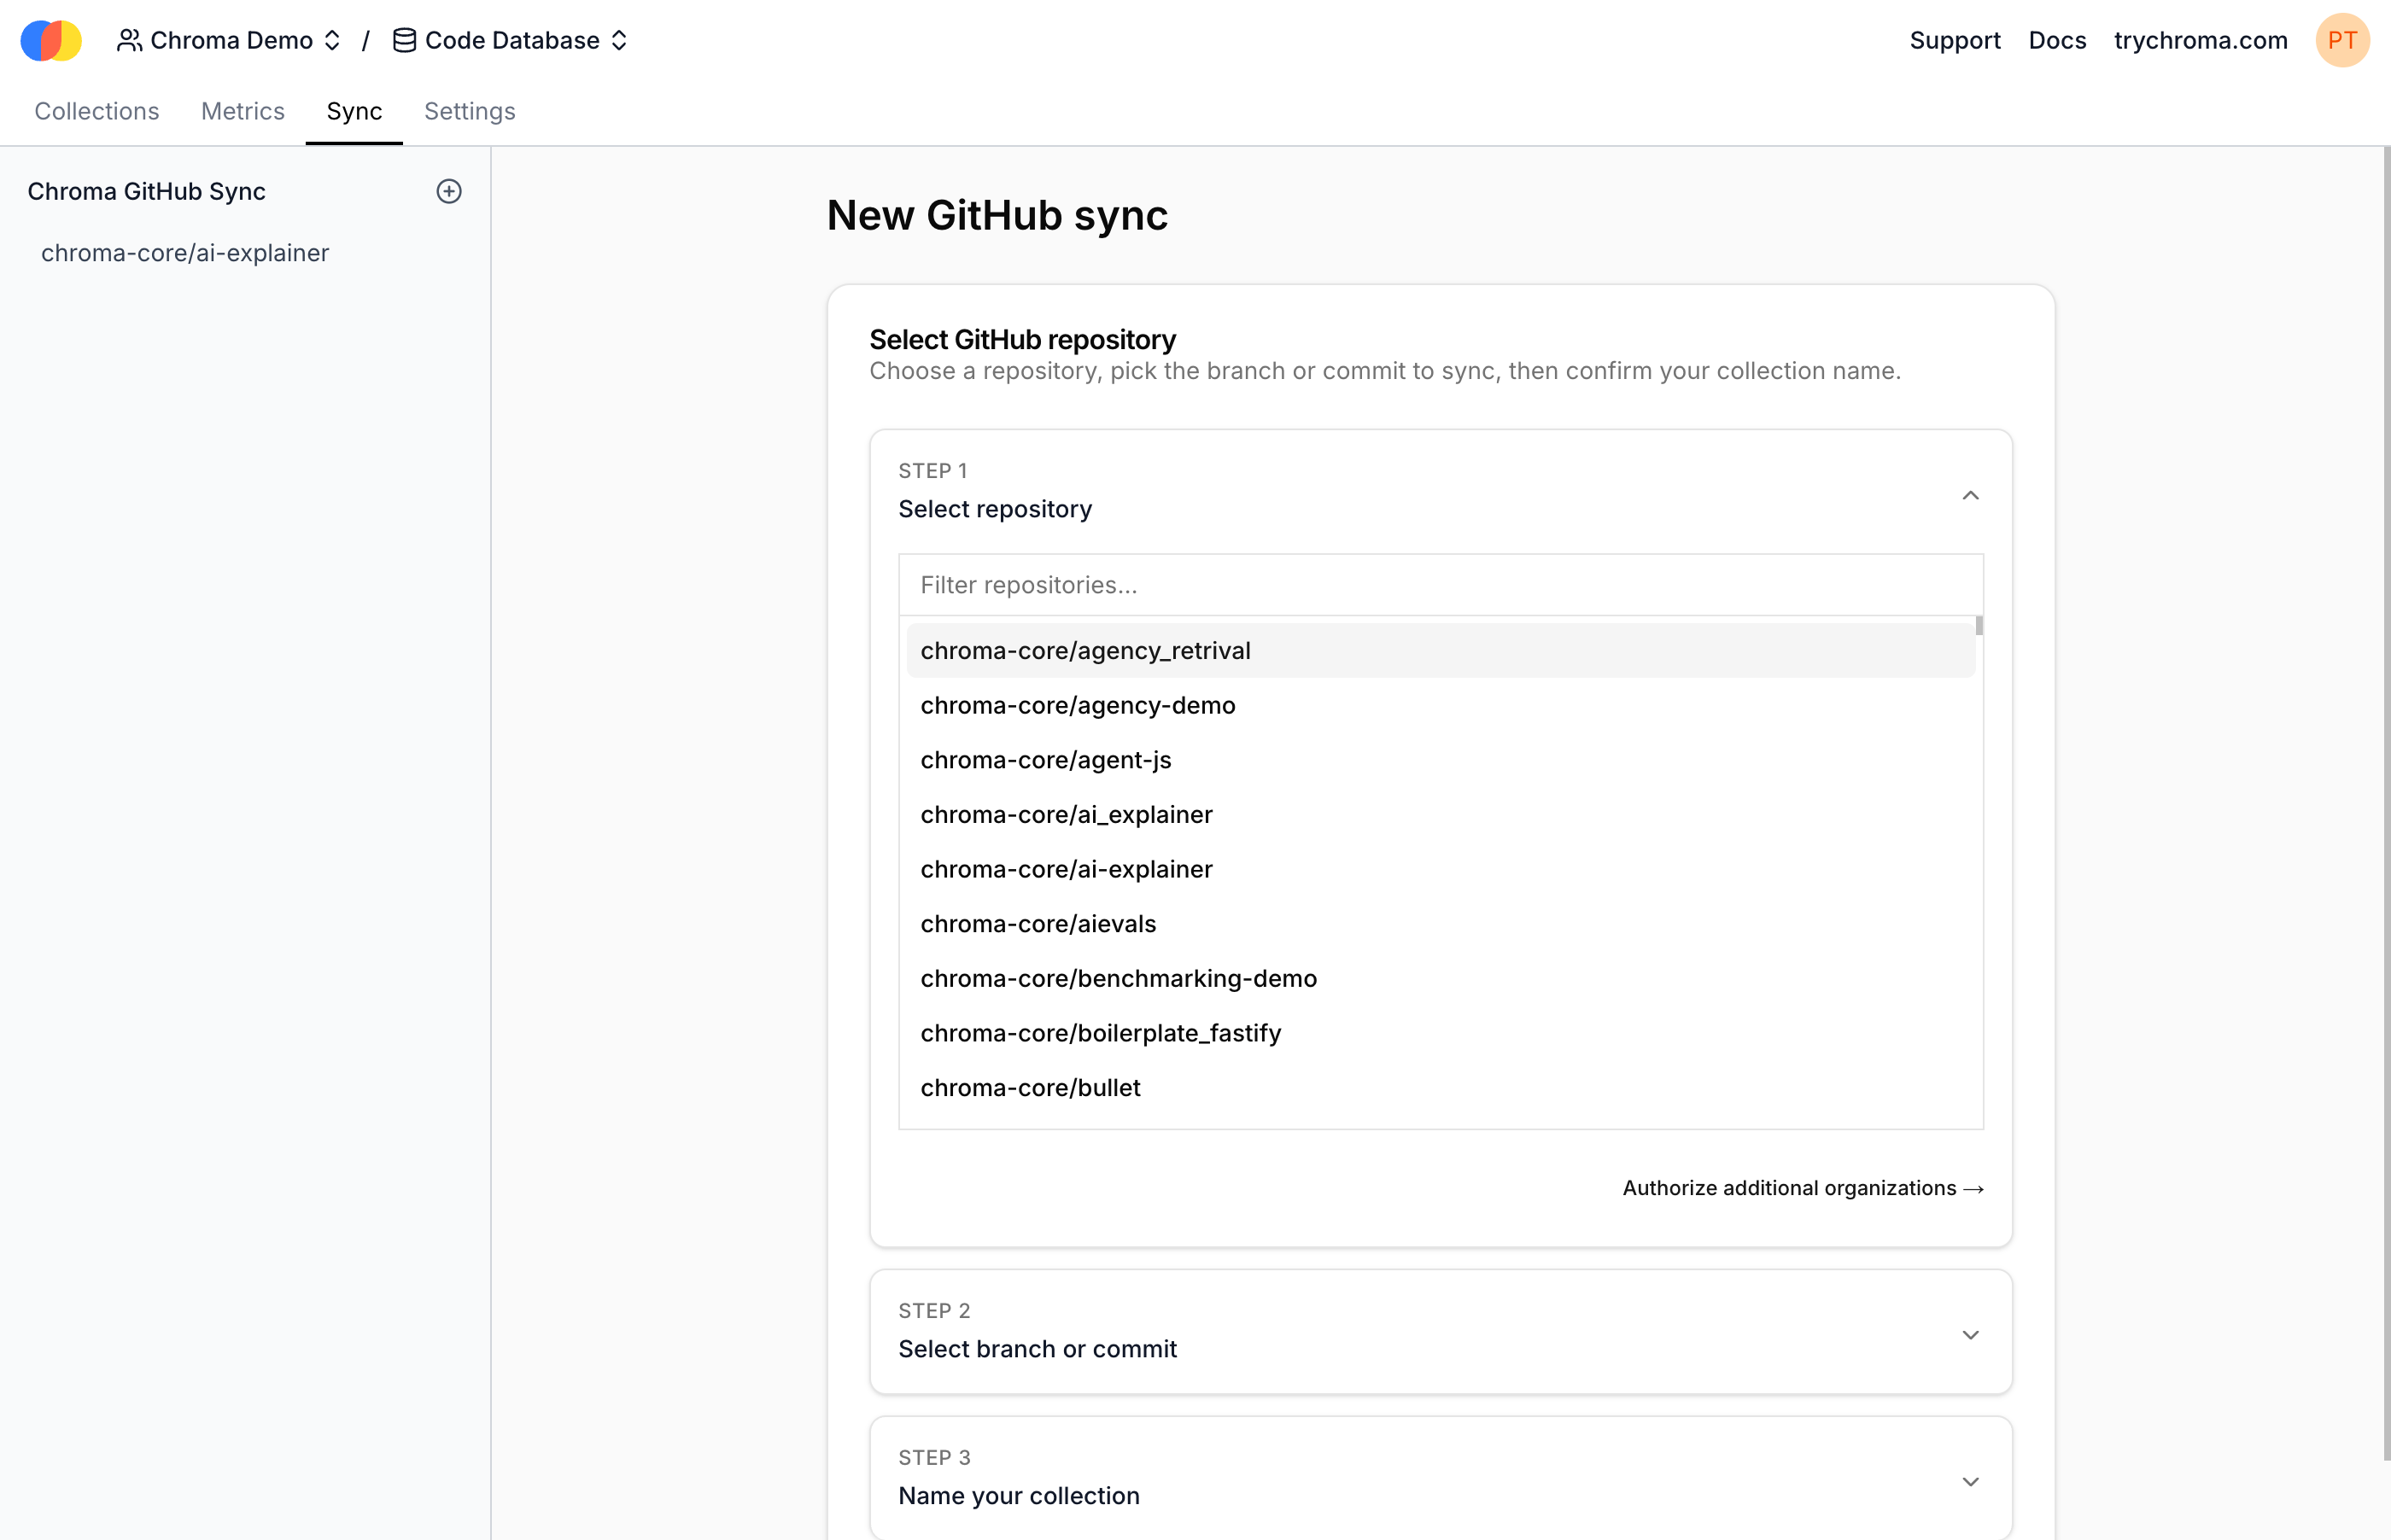
 Then, follow the prompts to initiate sync. Choose the repo to sync code from, the branch or commit hash version of the code to index, and a new collection name for the synced code. (The collection will be created by the syncing process, and must not exist yet.)
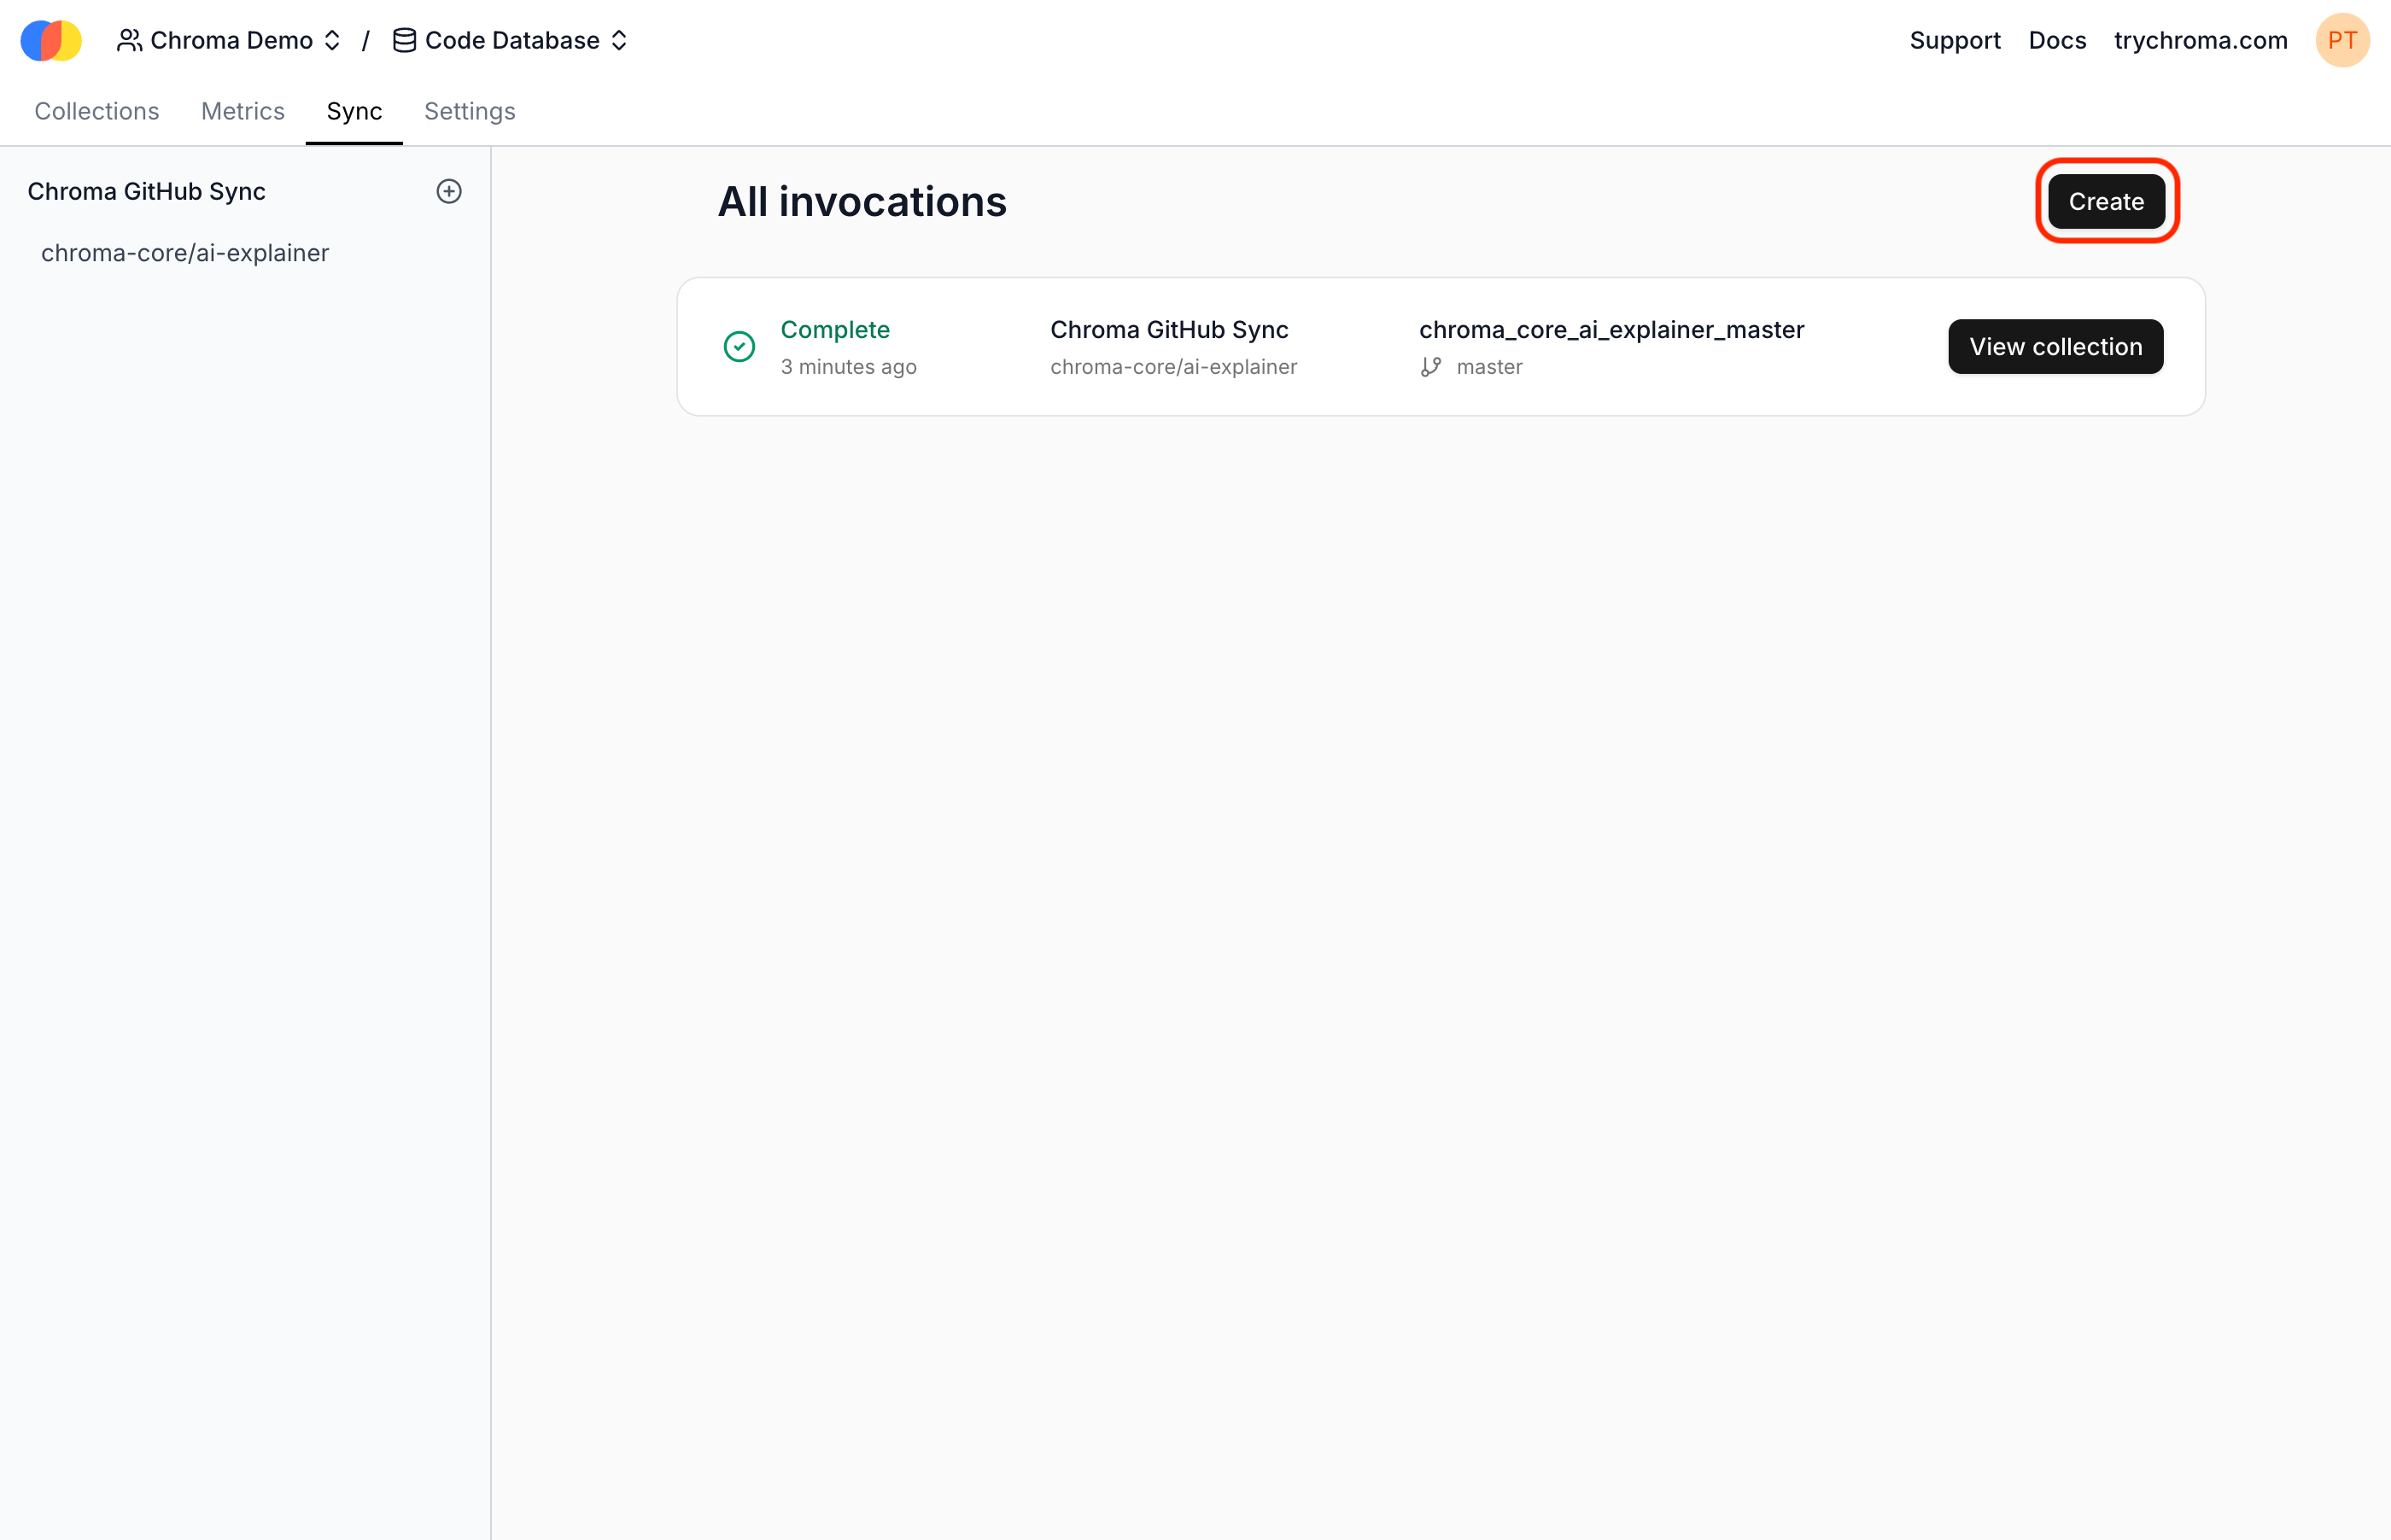
-
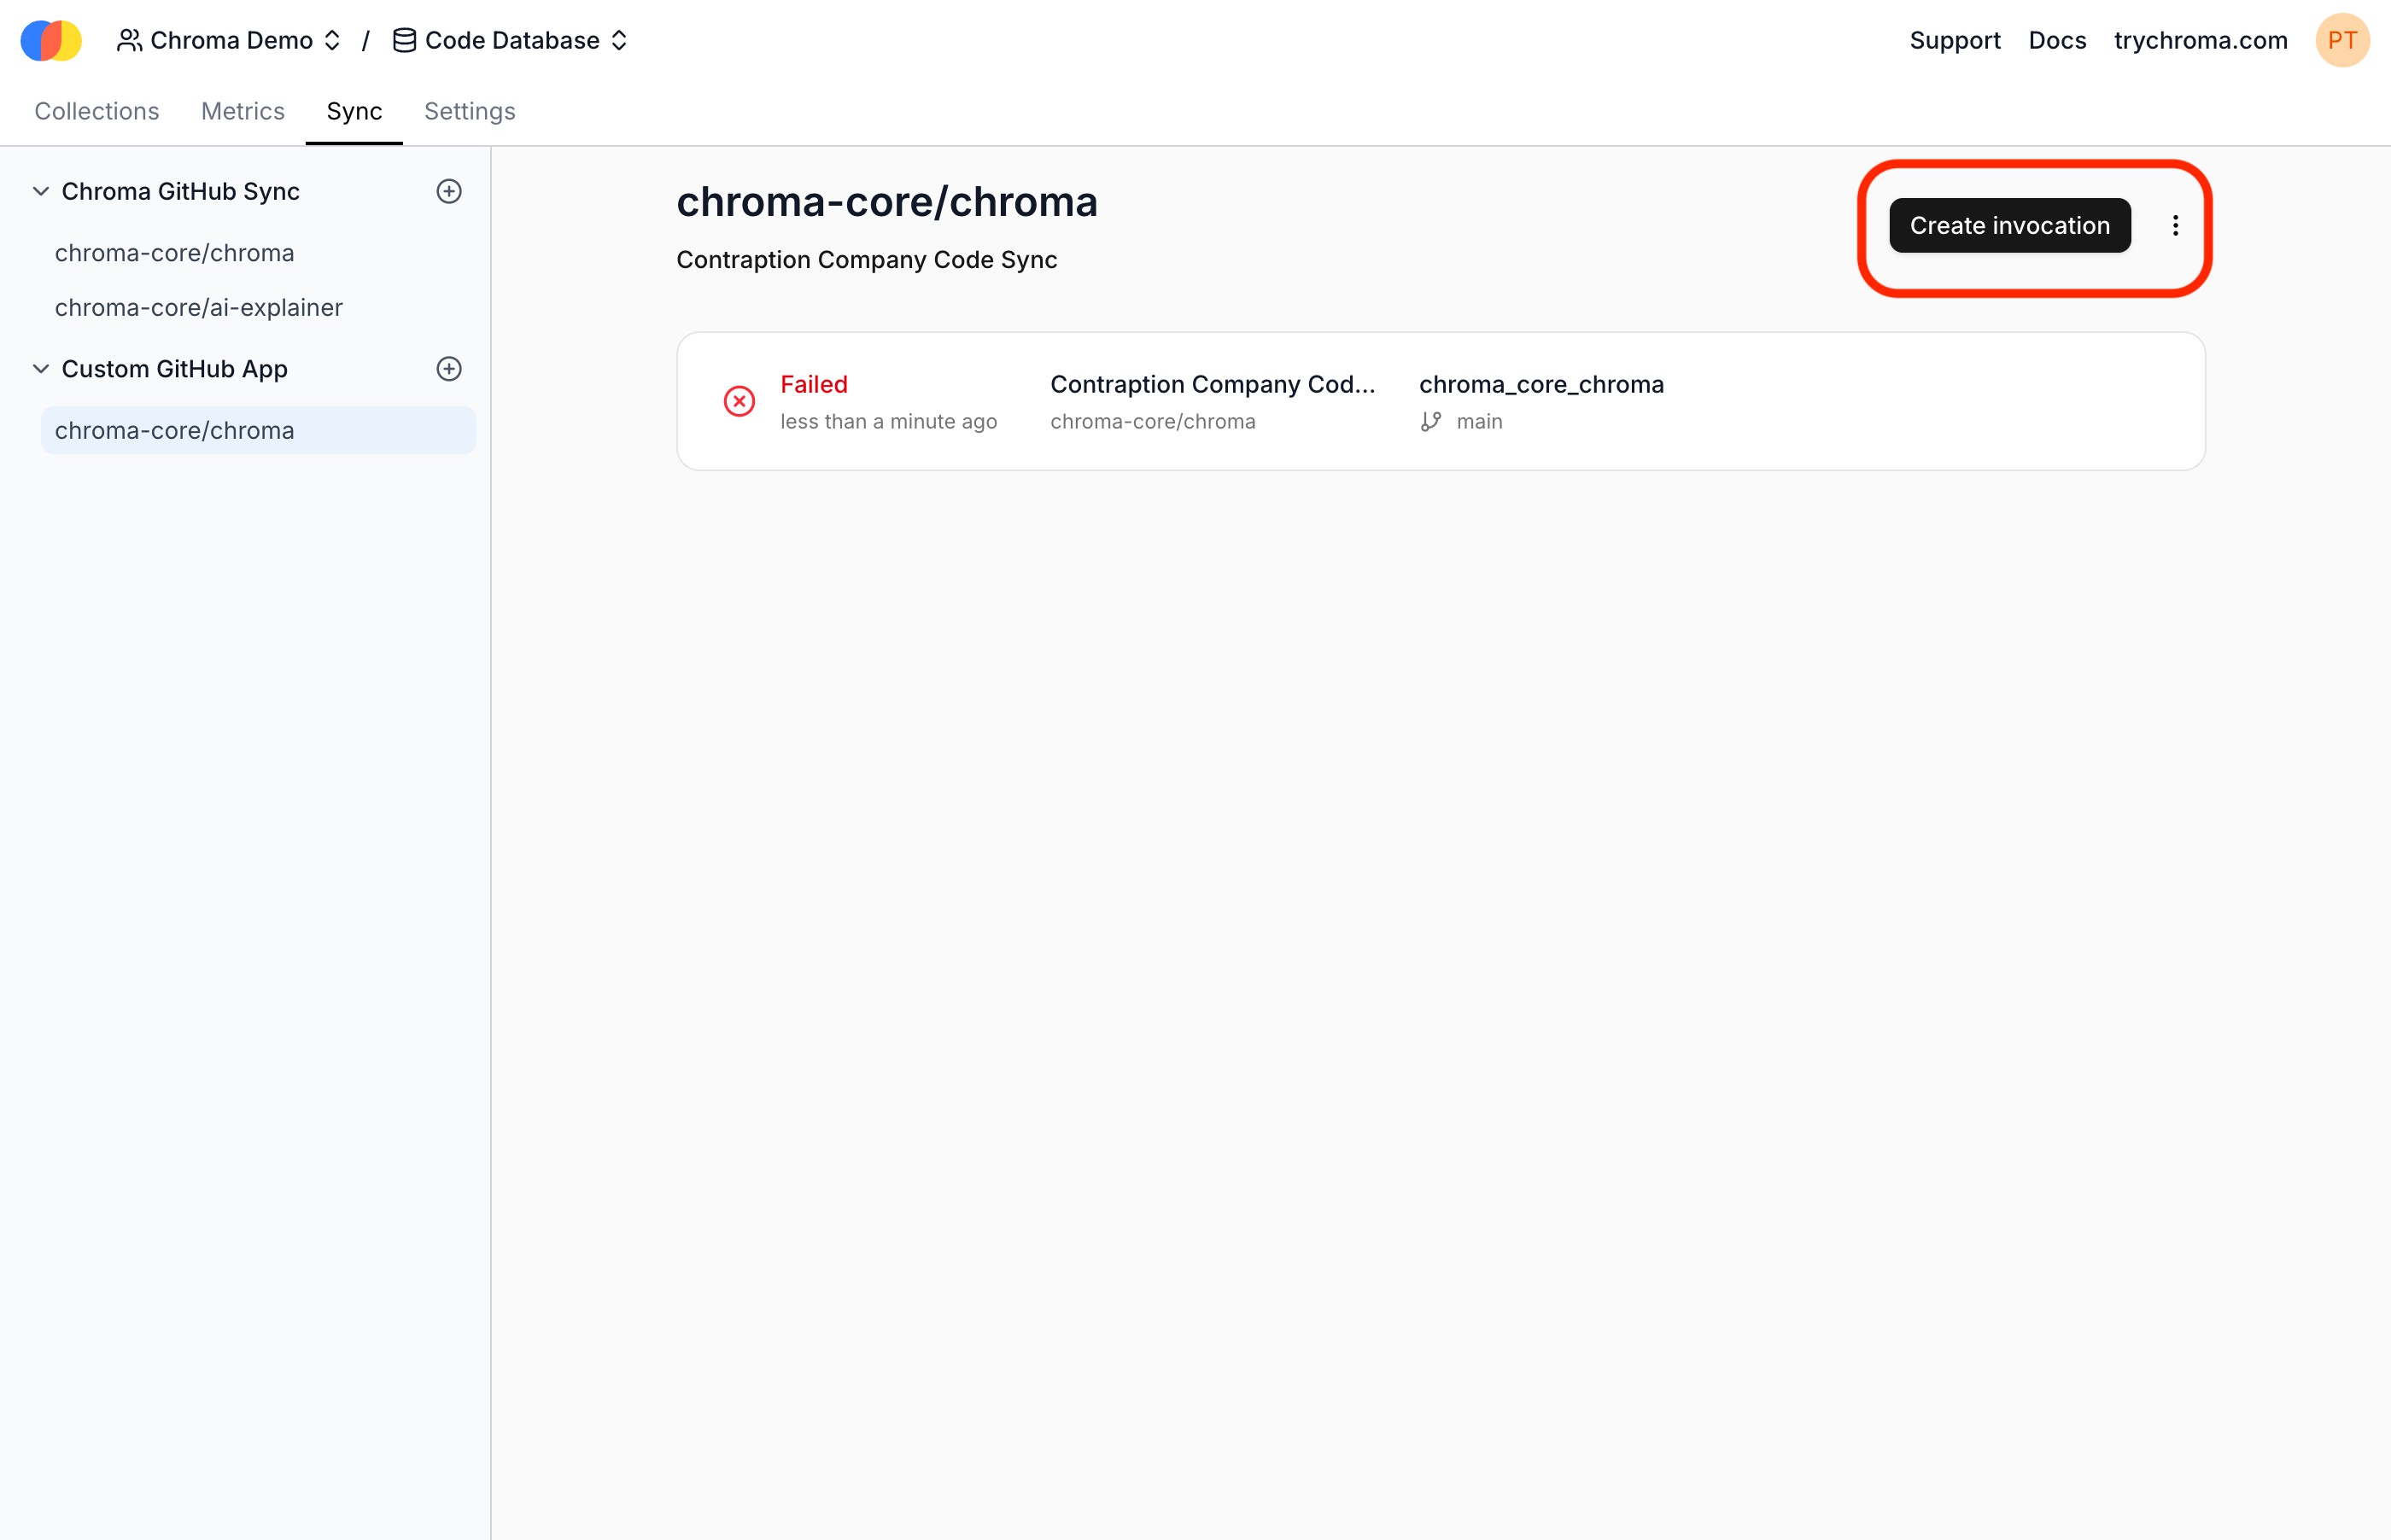
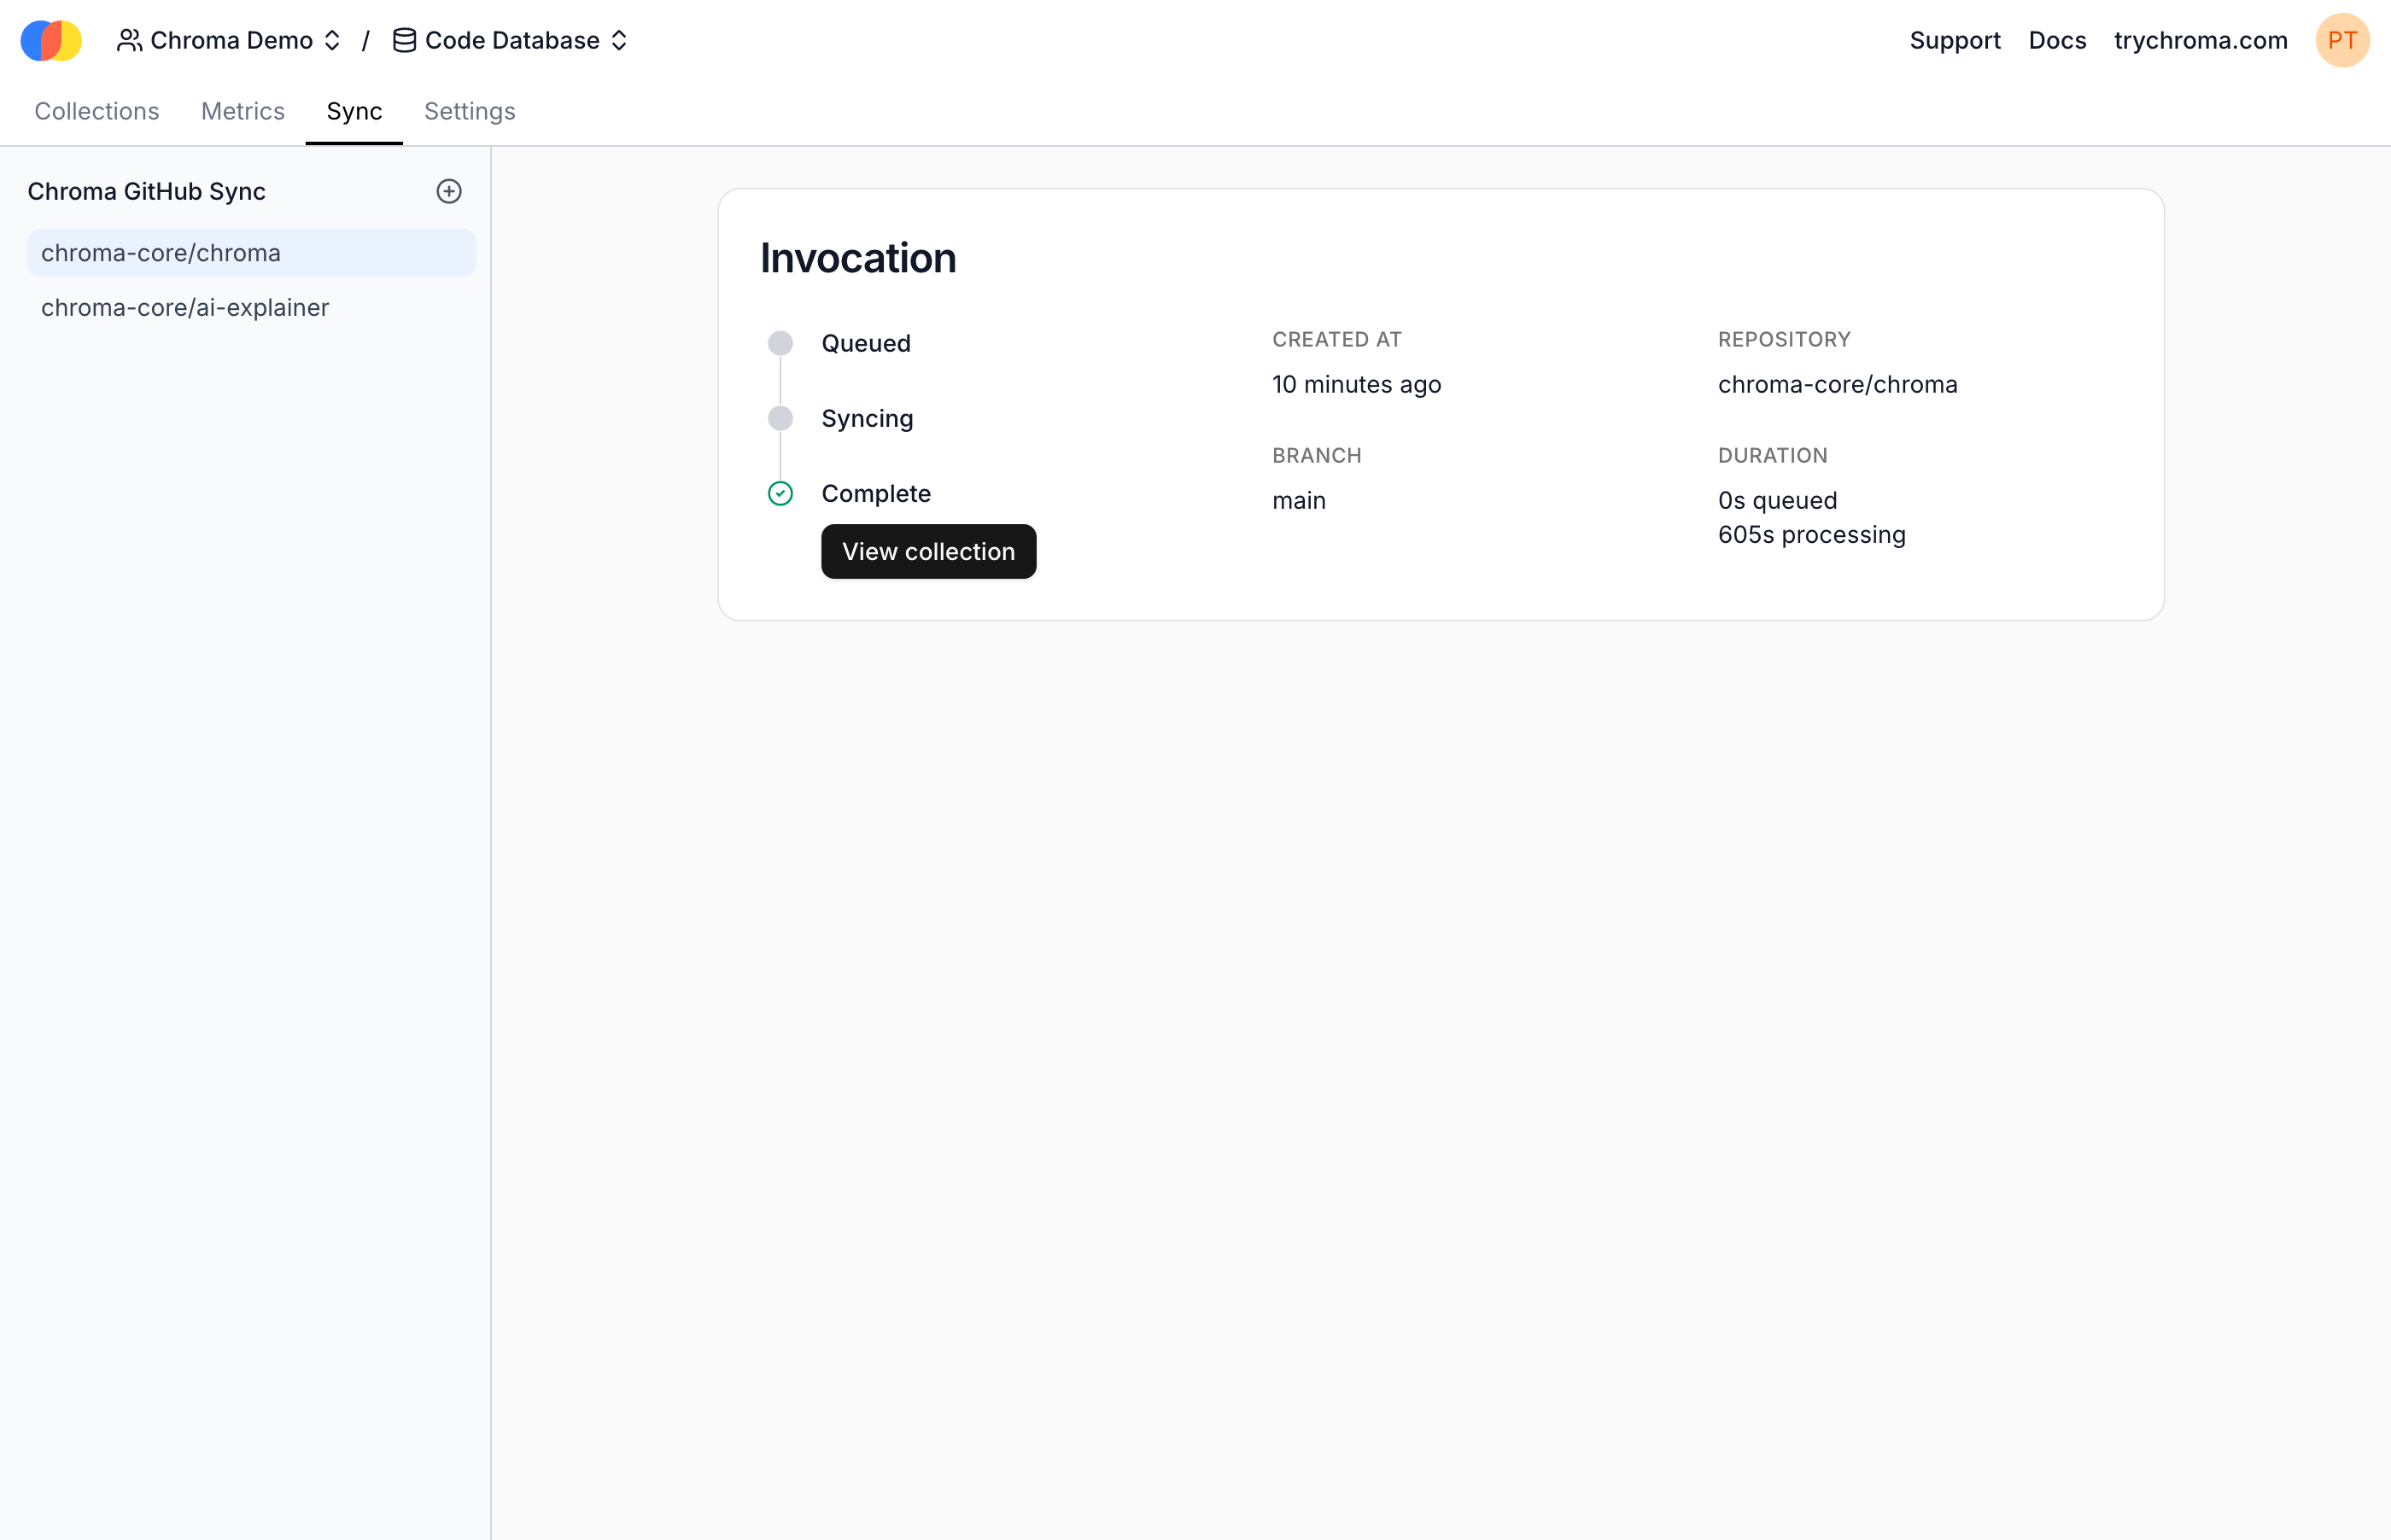
Viewing an Invocation
Each Sync create a new Invocation. When completed, select “View Collection” to see the new Chroma collection containing the synced code:
Platform Sync
Team & Enterprise onlyPlatform Sync is only available on Chroma Cloud Team and Enterprise plans.
-
Prerequisites
This walkthrough assumes that you have already created a GitHub App and installed it into at least one GitHub account or organization.
The GitHub App must have read-only access to the “Contents” and “Metadata” permissions listed under “Repository permissions.” These permissions ensure Chroma can index repositories authorized on the GitHub app.


-
Setup
If you do not already have a Chroma Cloud account, you will need to create one at trychroma.com. After creating an account, you can create a database by specifying a name:
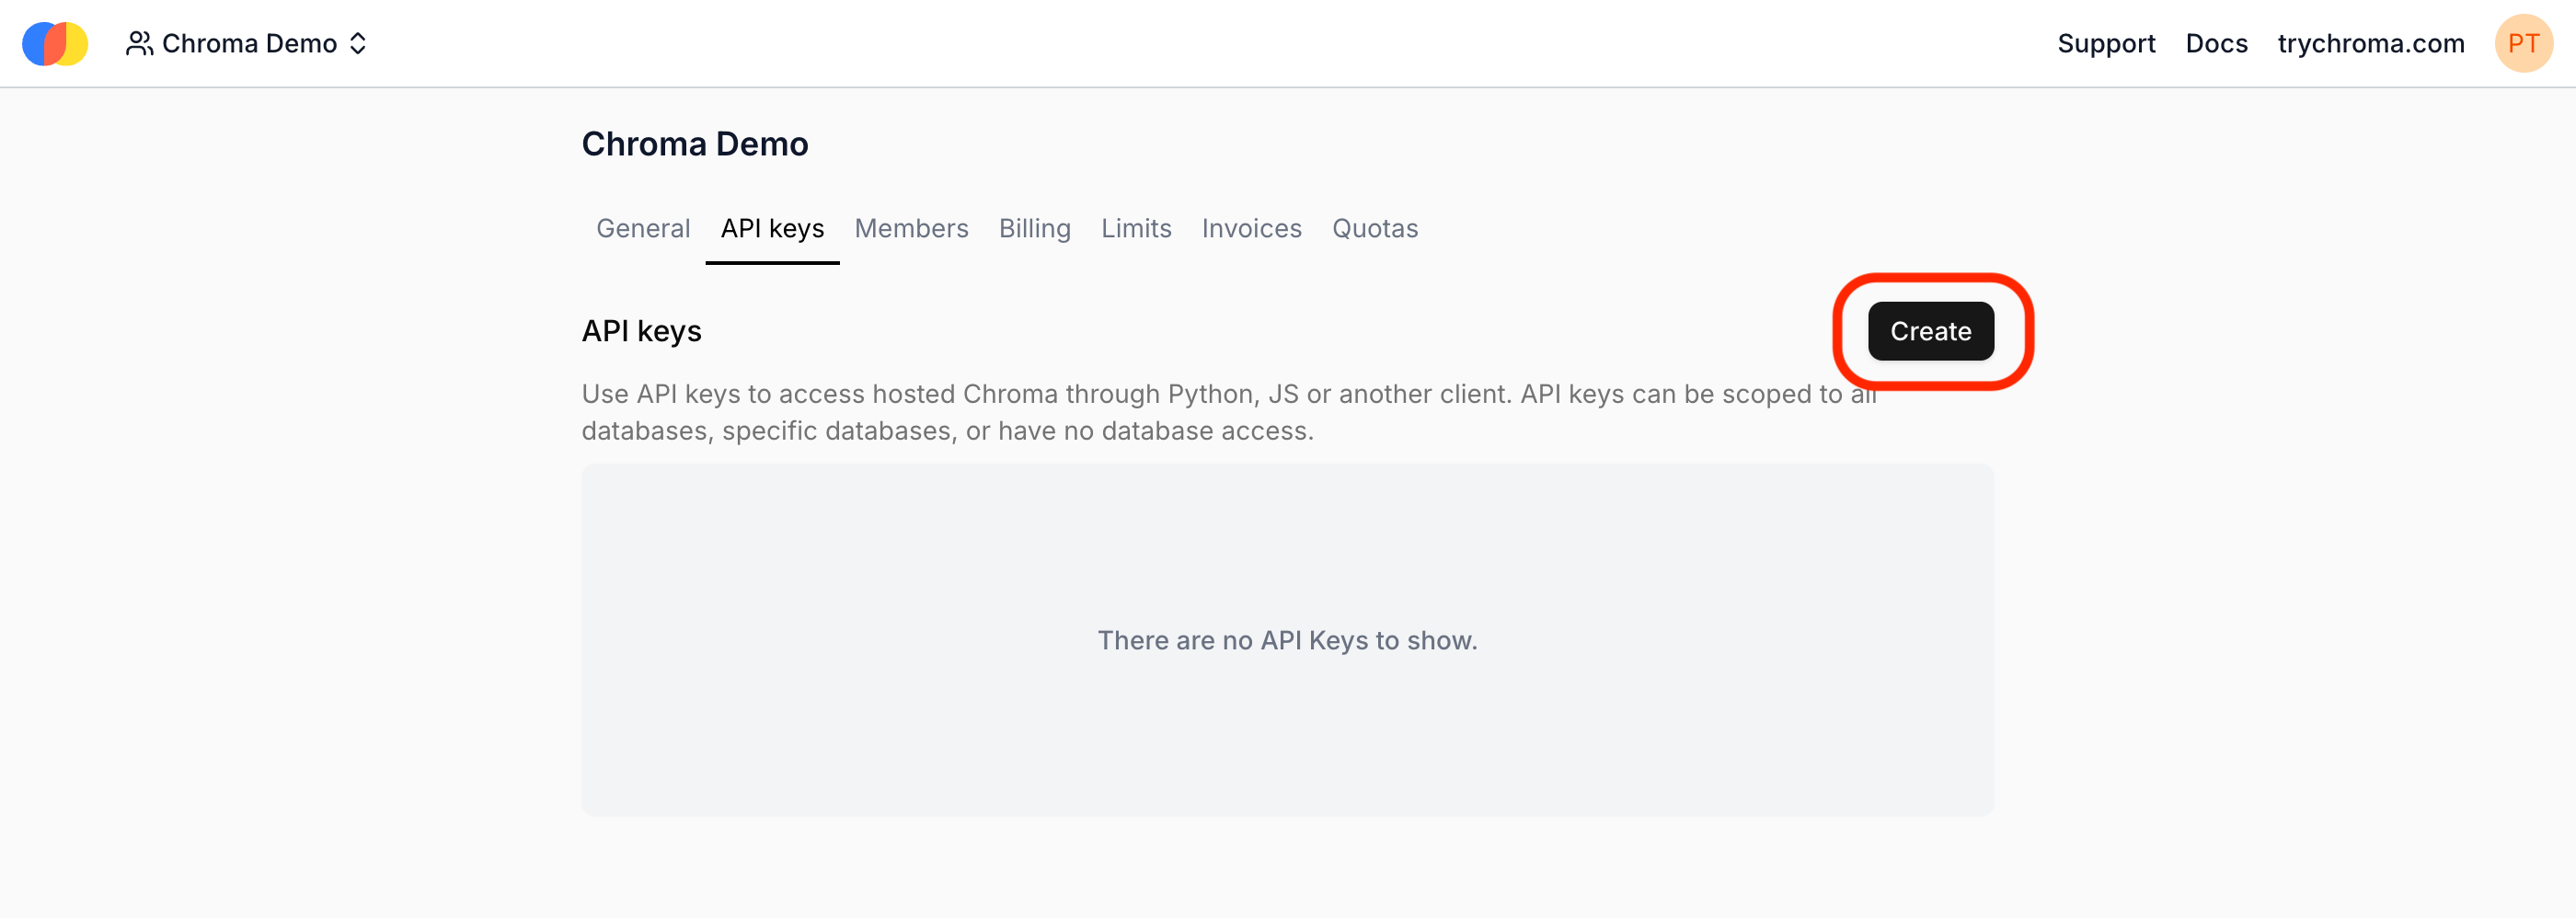
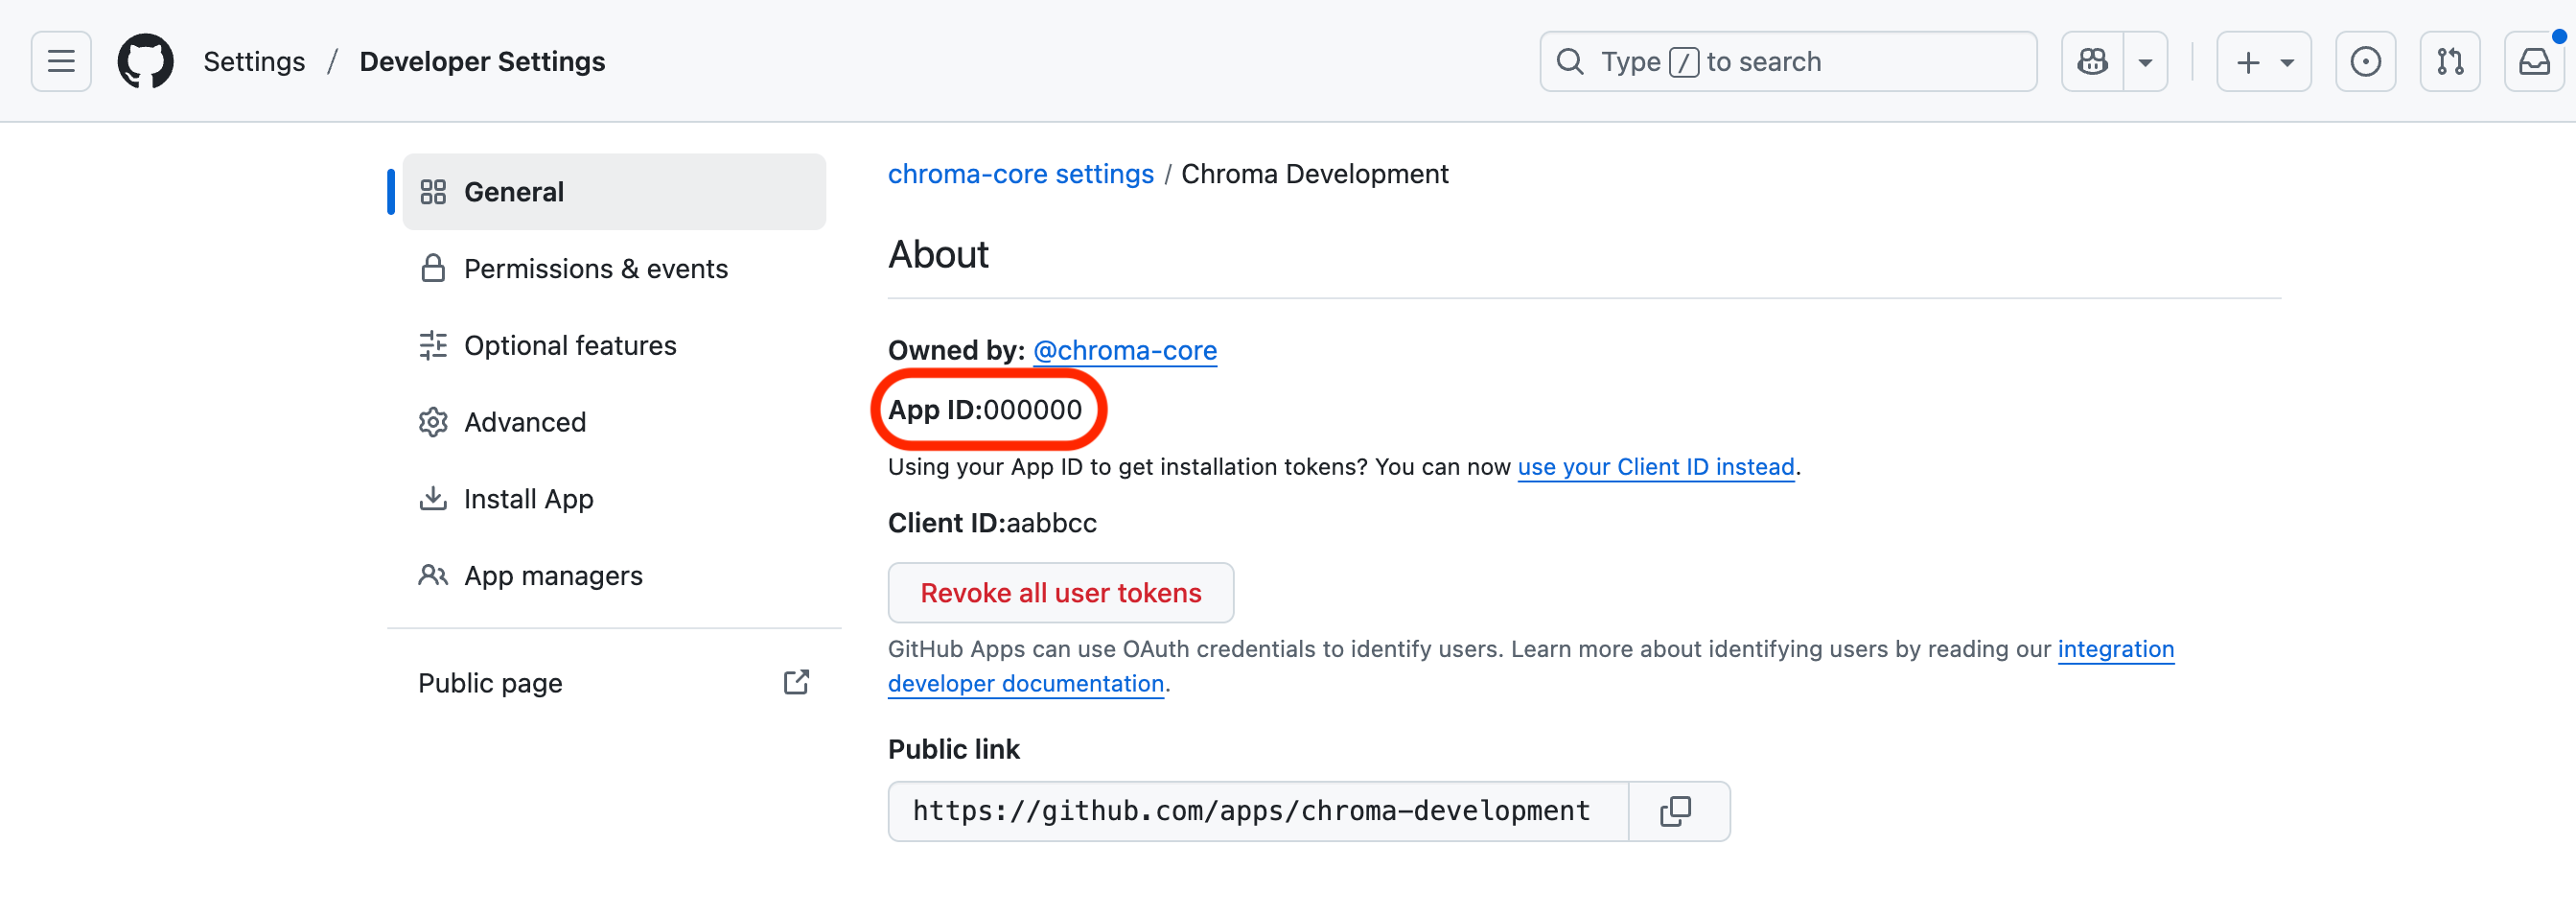
Once you have a database, you should create an API key to be able to access the Sync Function’s API. You can choose to make this API key scoped to all databases on your account or only the one you just created:The final setup step is to grant Chroma access to the repositories to which your GitHub App has access. You will need to retrieve the app’s ID and private key from GitHub:
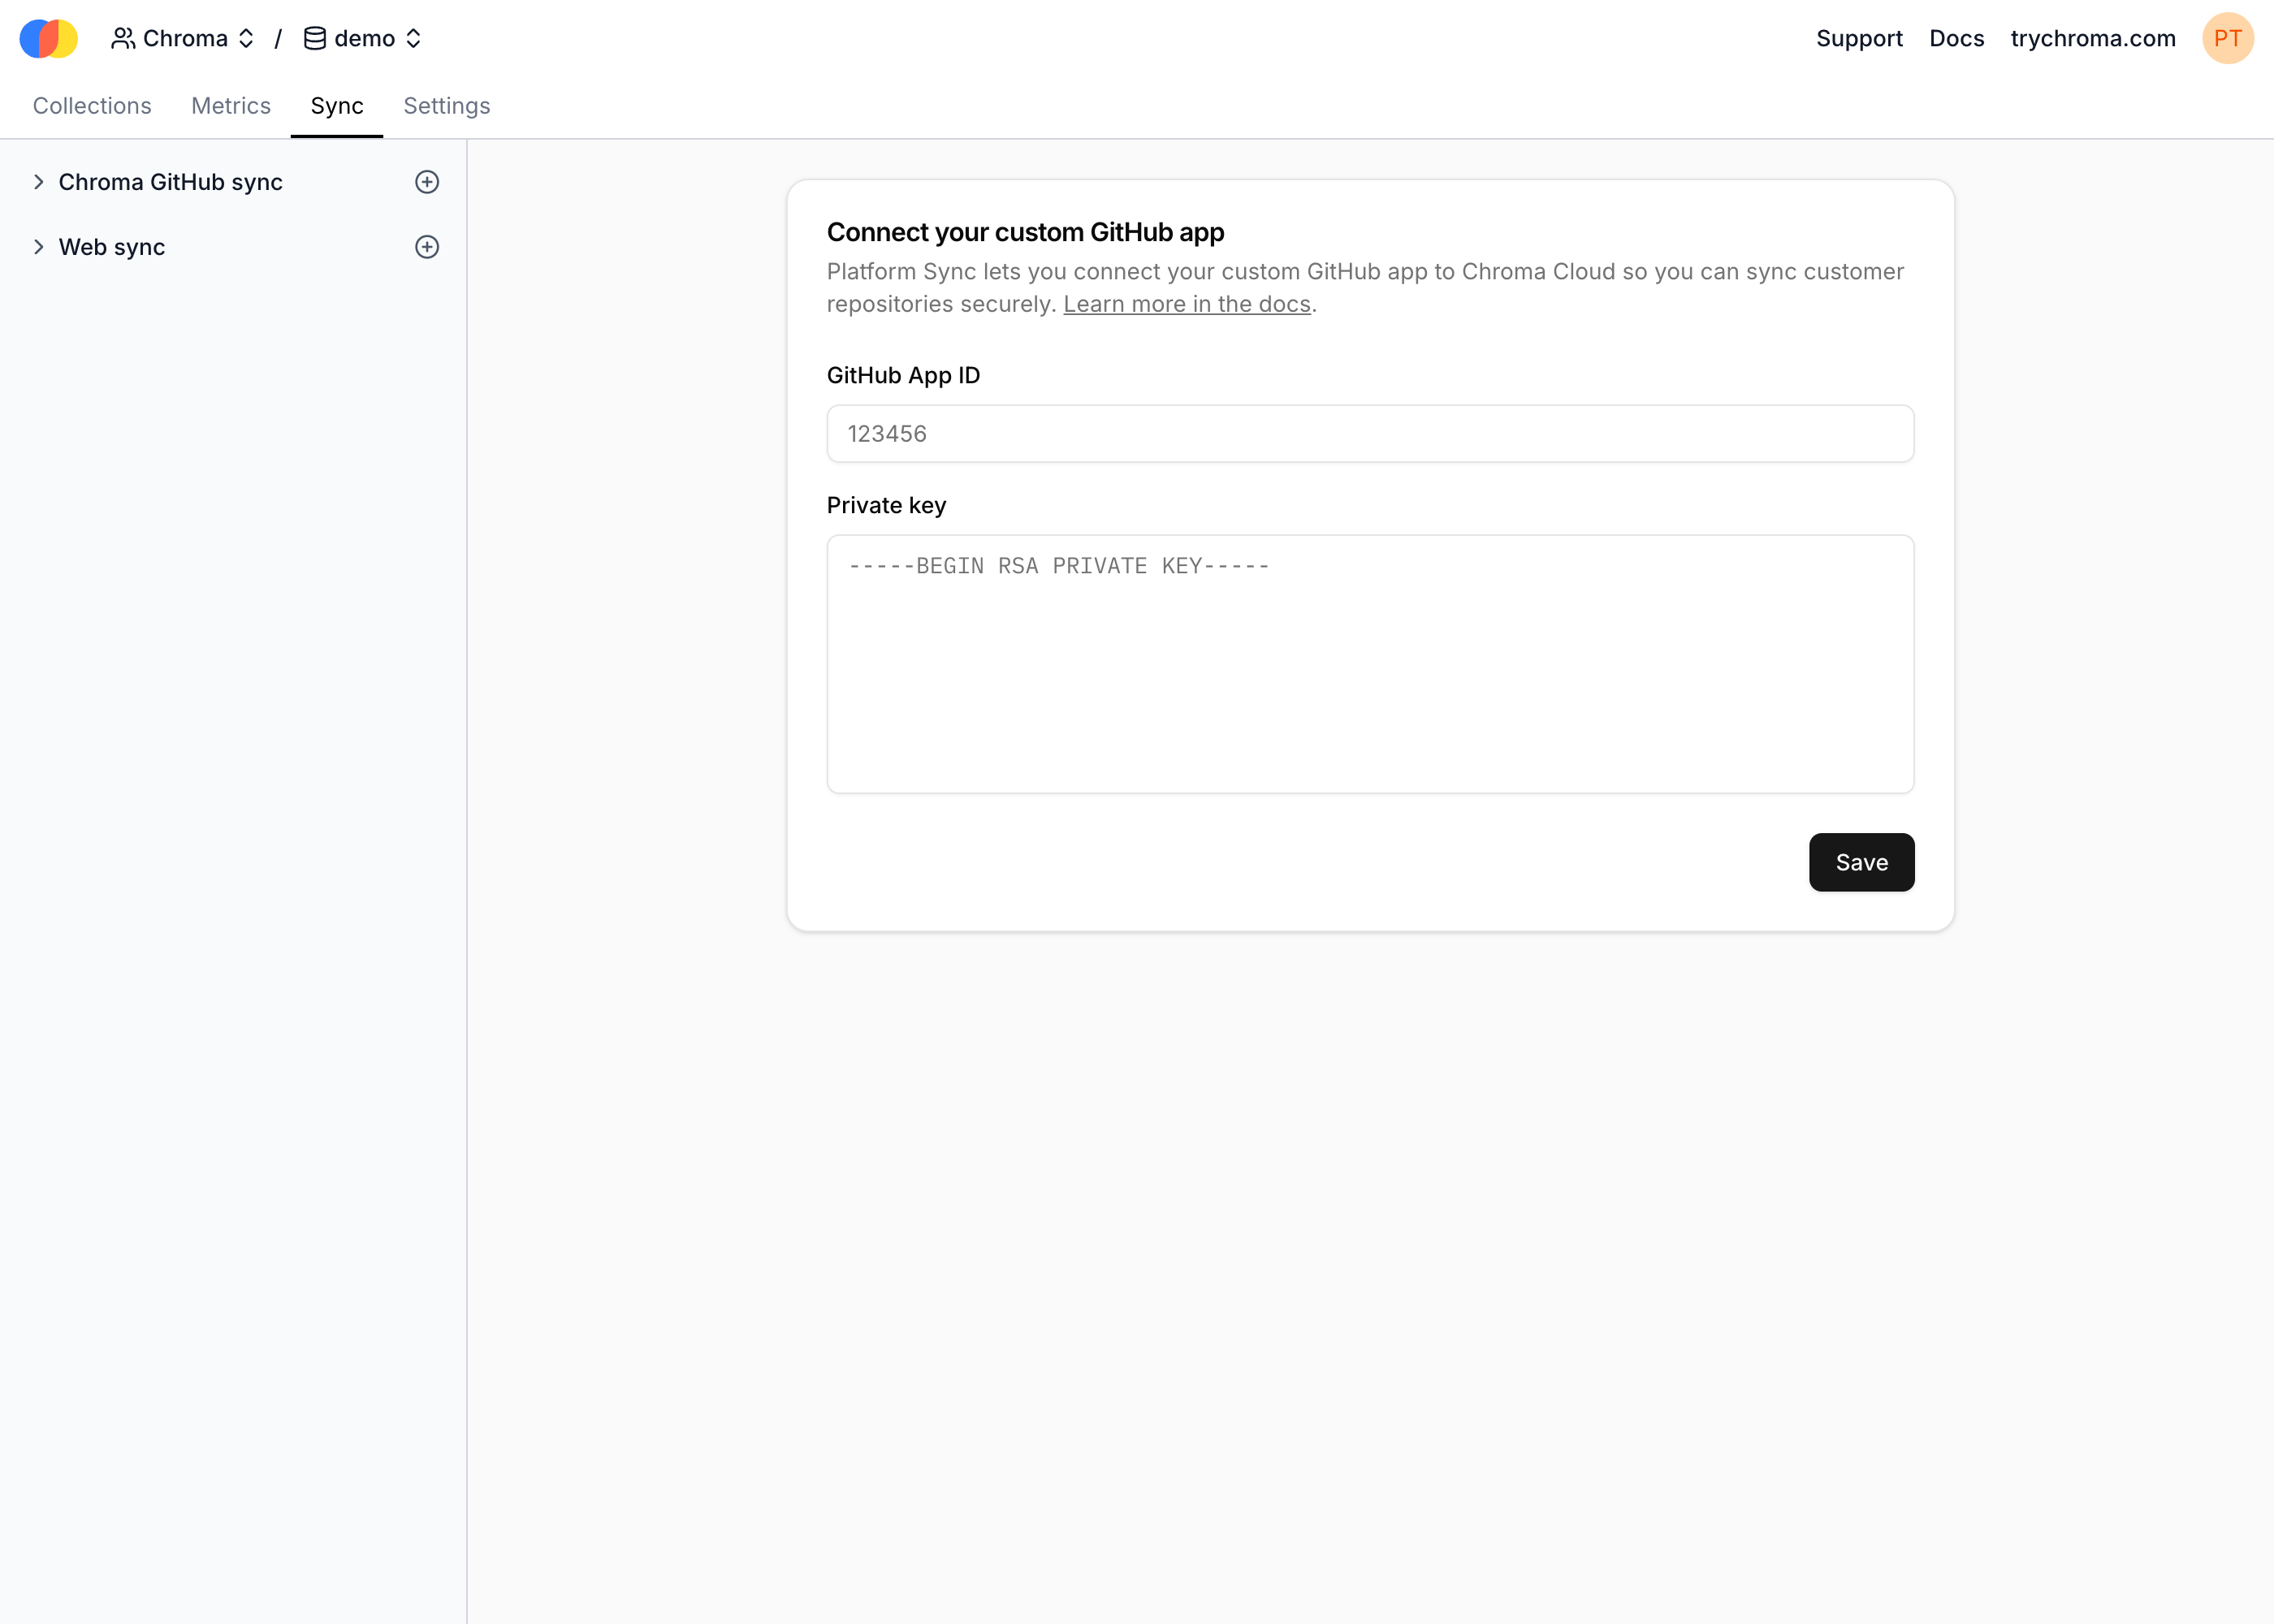
 With these credentials, navigate to the “Sync” -> “New GitHub sync” -> “Register your GitHub app” to configure your GitHub App with Chroma.
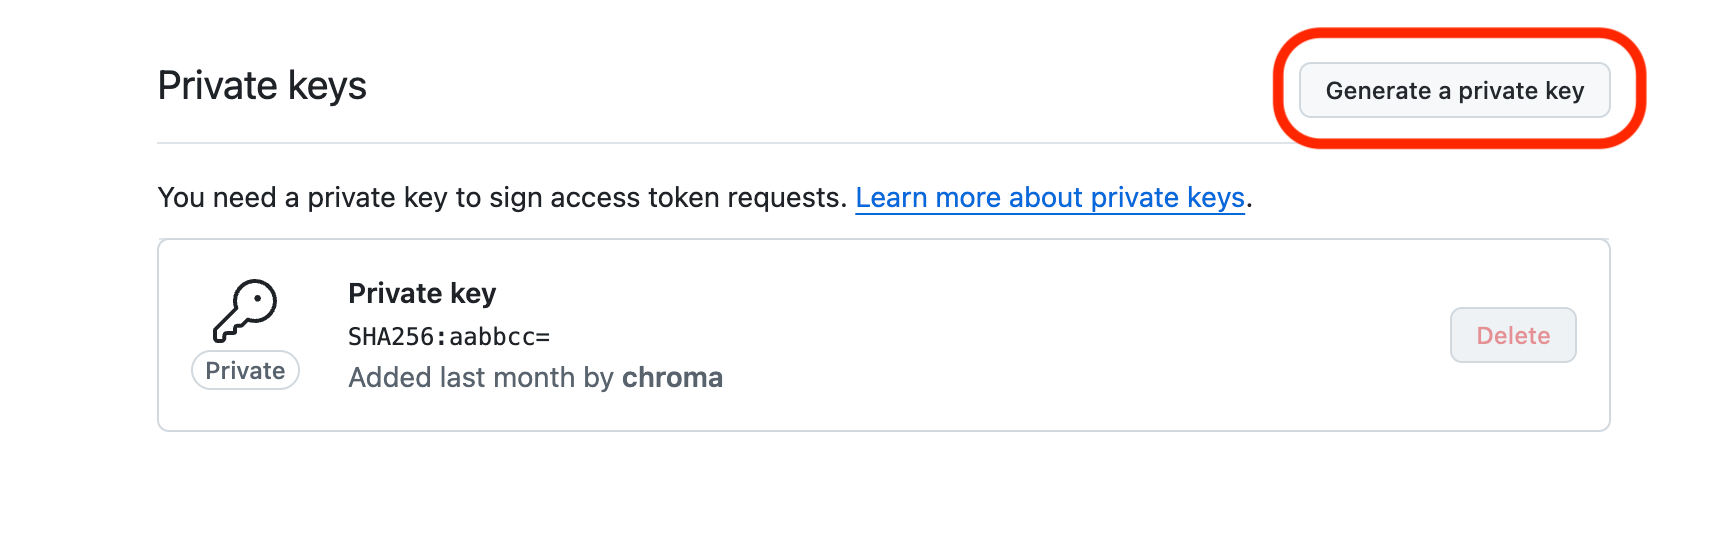 On the “Connect your custom GitHub app” screen, submit the App ID and private key from GitHub:
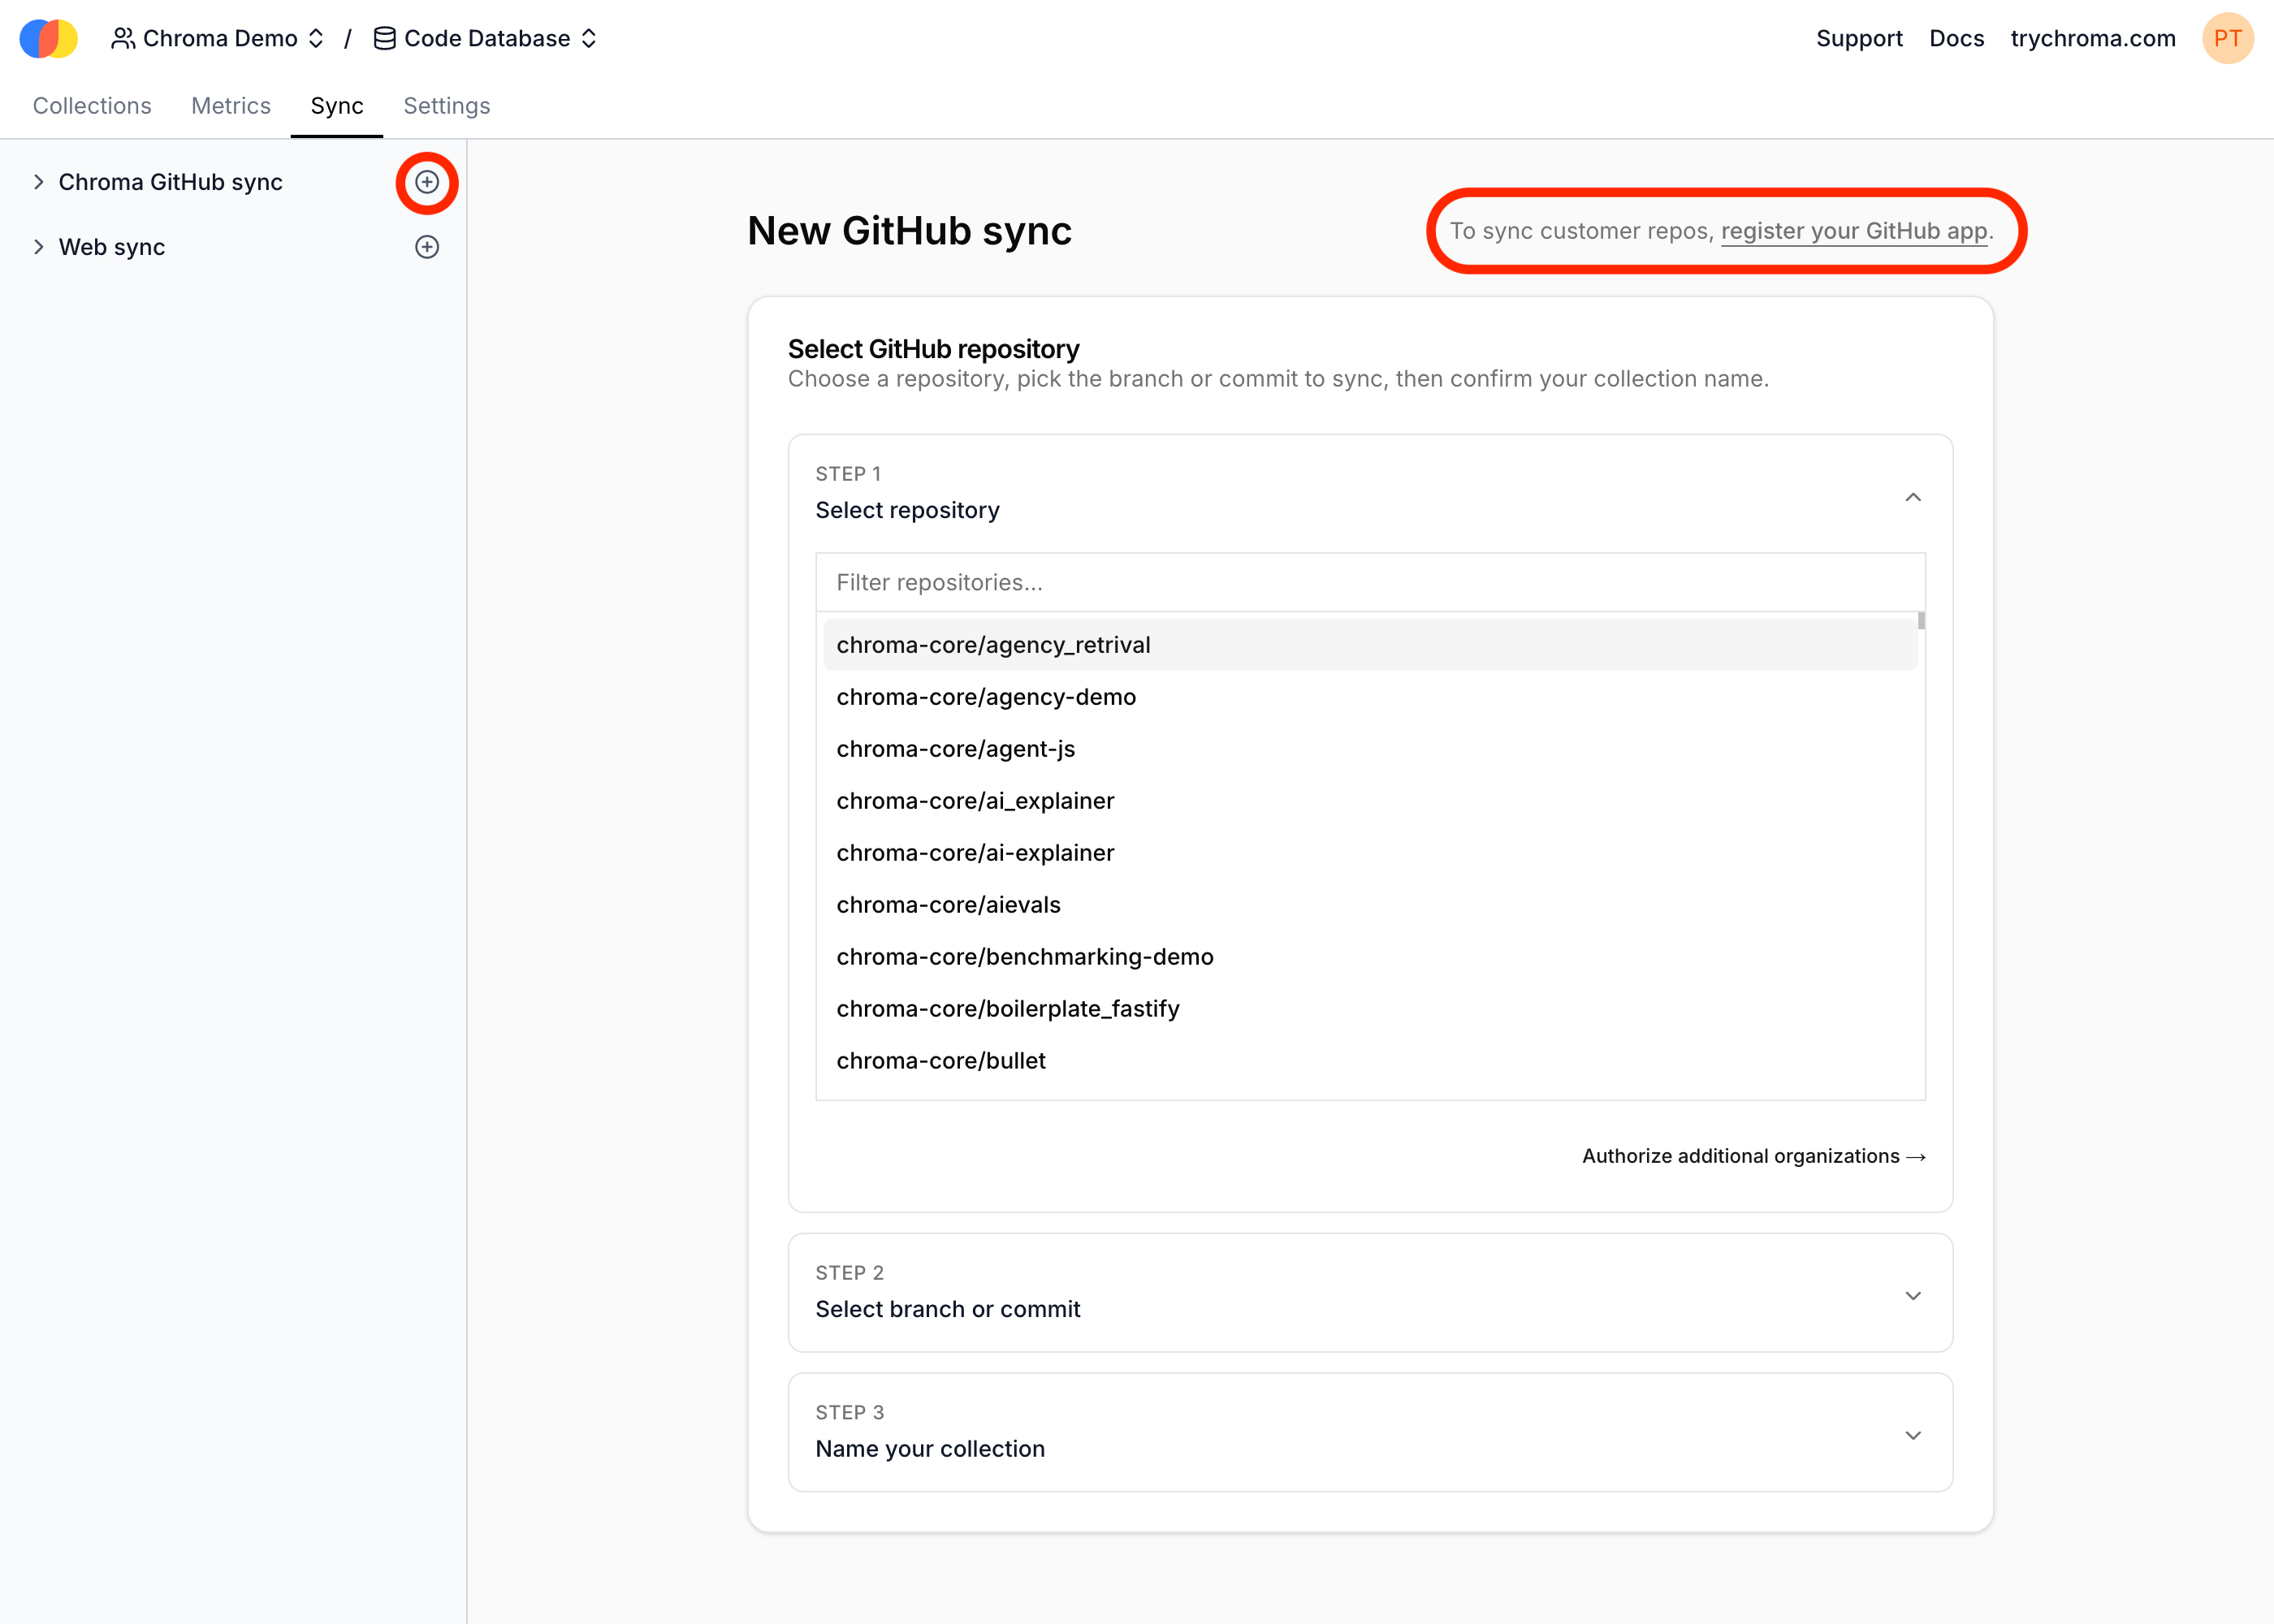
-
Creating a source
To create a source, you must send an API request to the Sync Function’s API:
-
Invoking the Sync Function
To invoke the Sync Function, you must select a source on which to create the invocation. See the previous step for details on how to create a source. Once you select the source in the UI, you can invoke the Sync Function by clicking “Create invocation”:
Alternatively, you can invoke the Sync Function by sending an API request to the Sync Function’s API: